
Installation 151-1
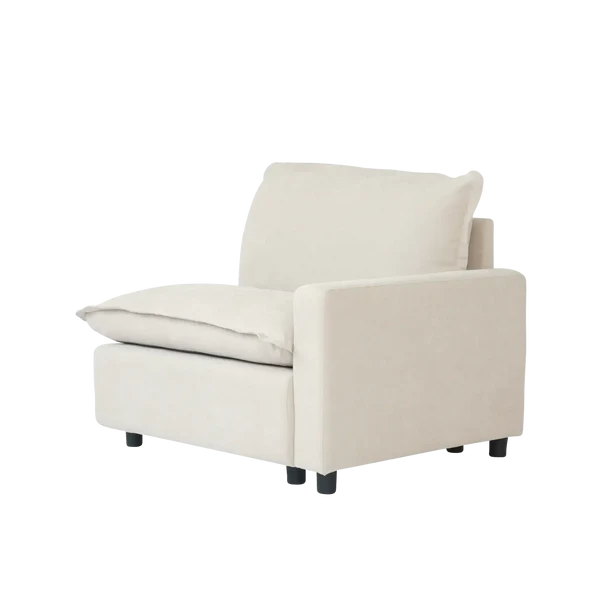
(Side Reclining Sofa) Sofa Base (Power)
 Backrest
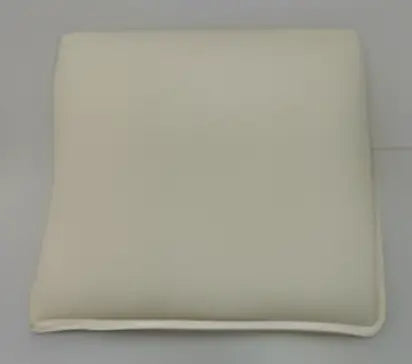
 Back Cushion
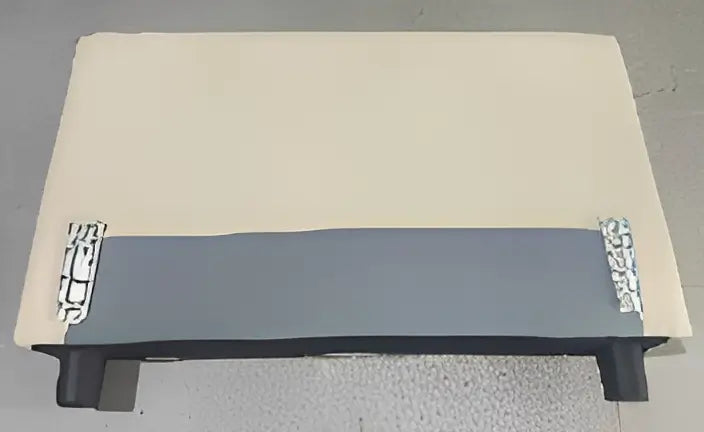
 Seat Cushion
 Armrest (Power)
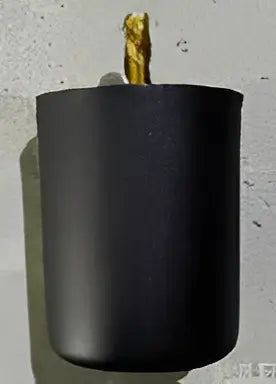 Legs
Legs
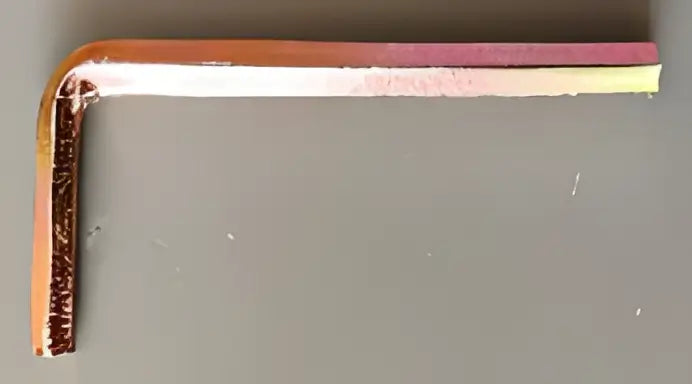 Wrench
To avoid scratches and swallowing parts,please do not install by children!
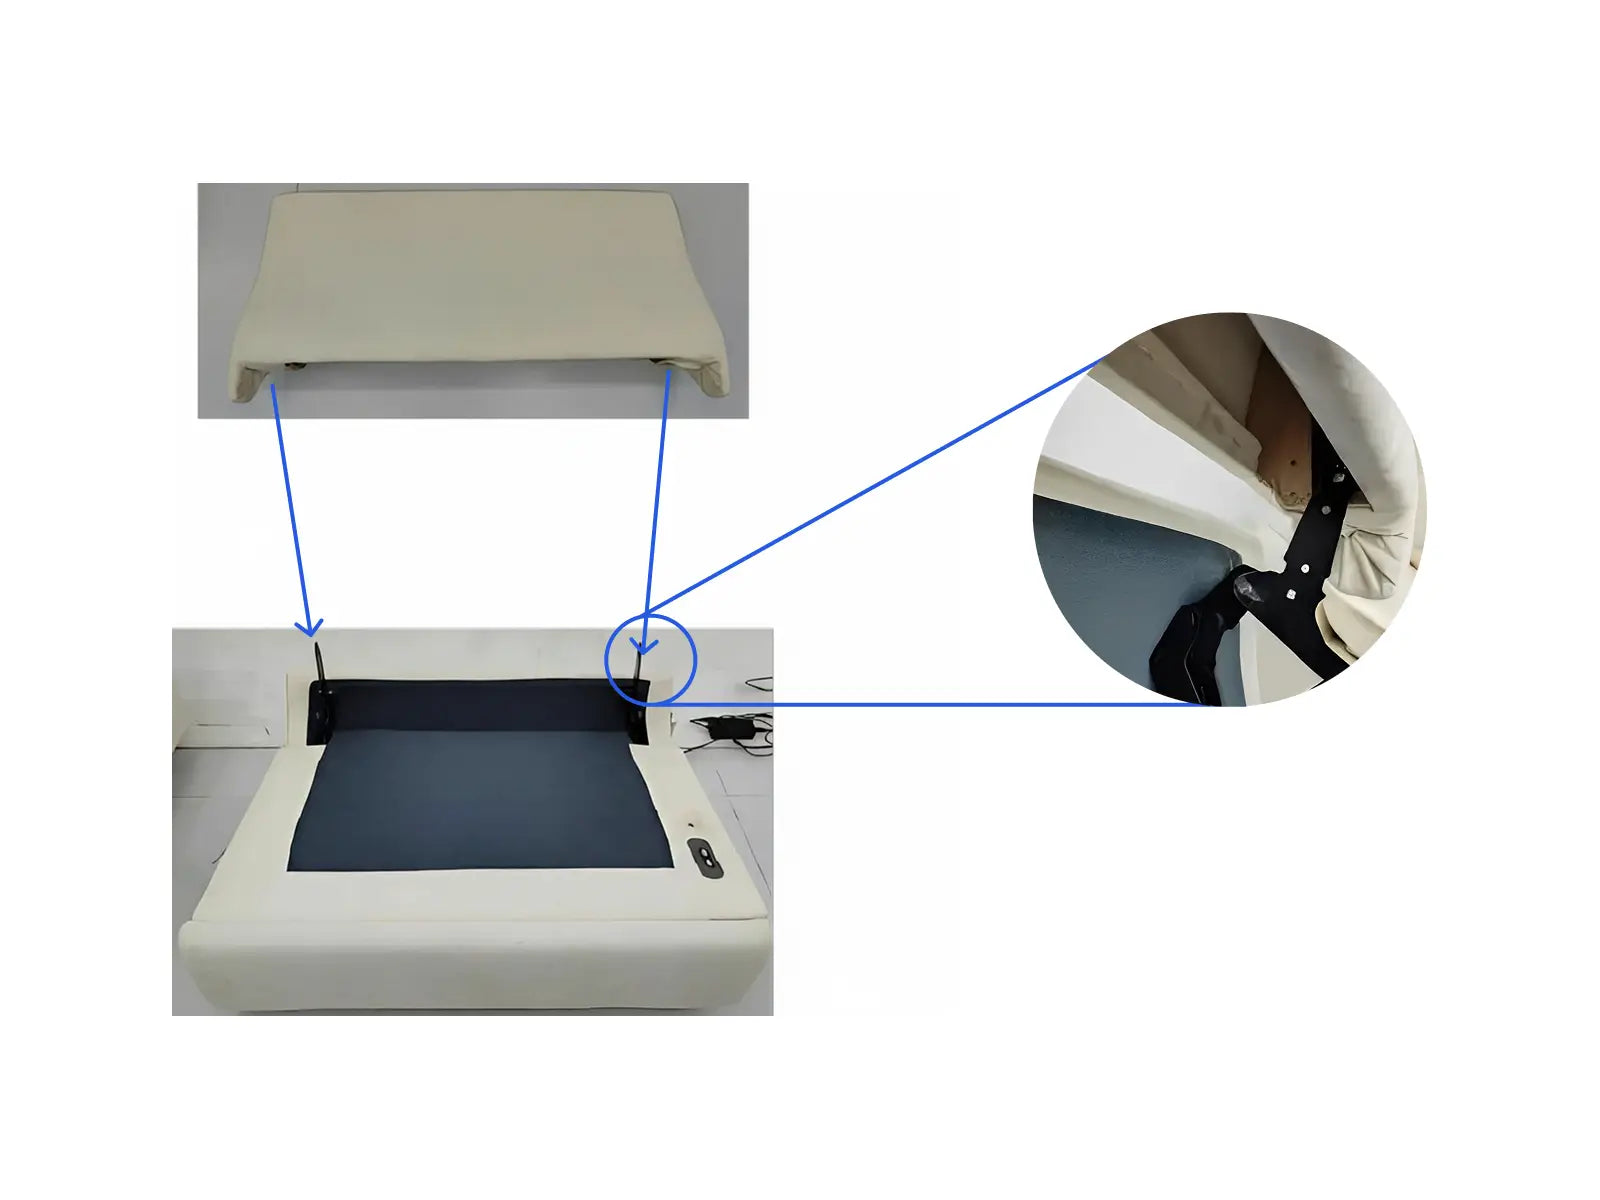
Step 1
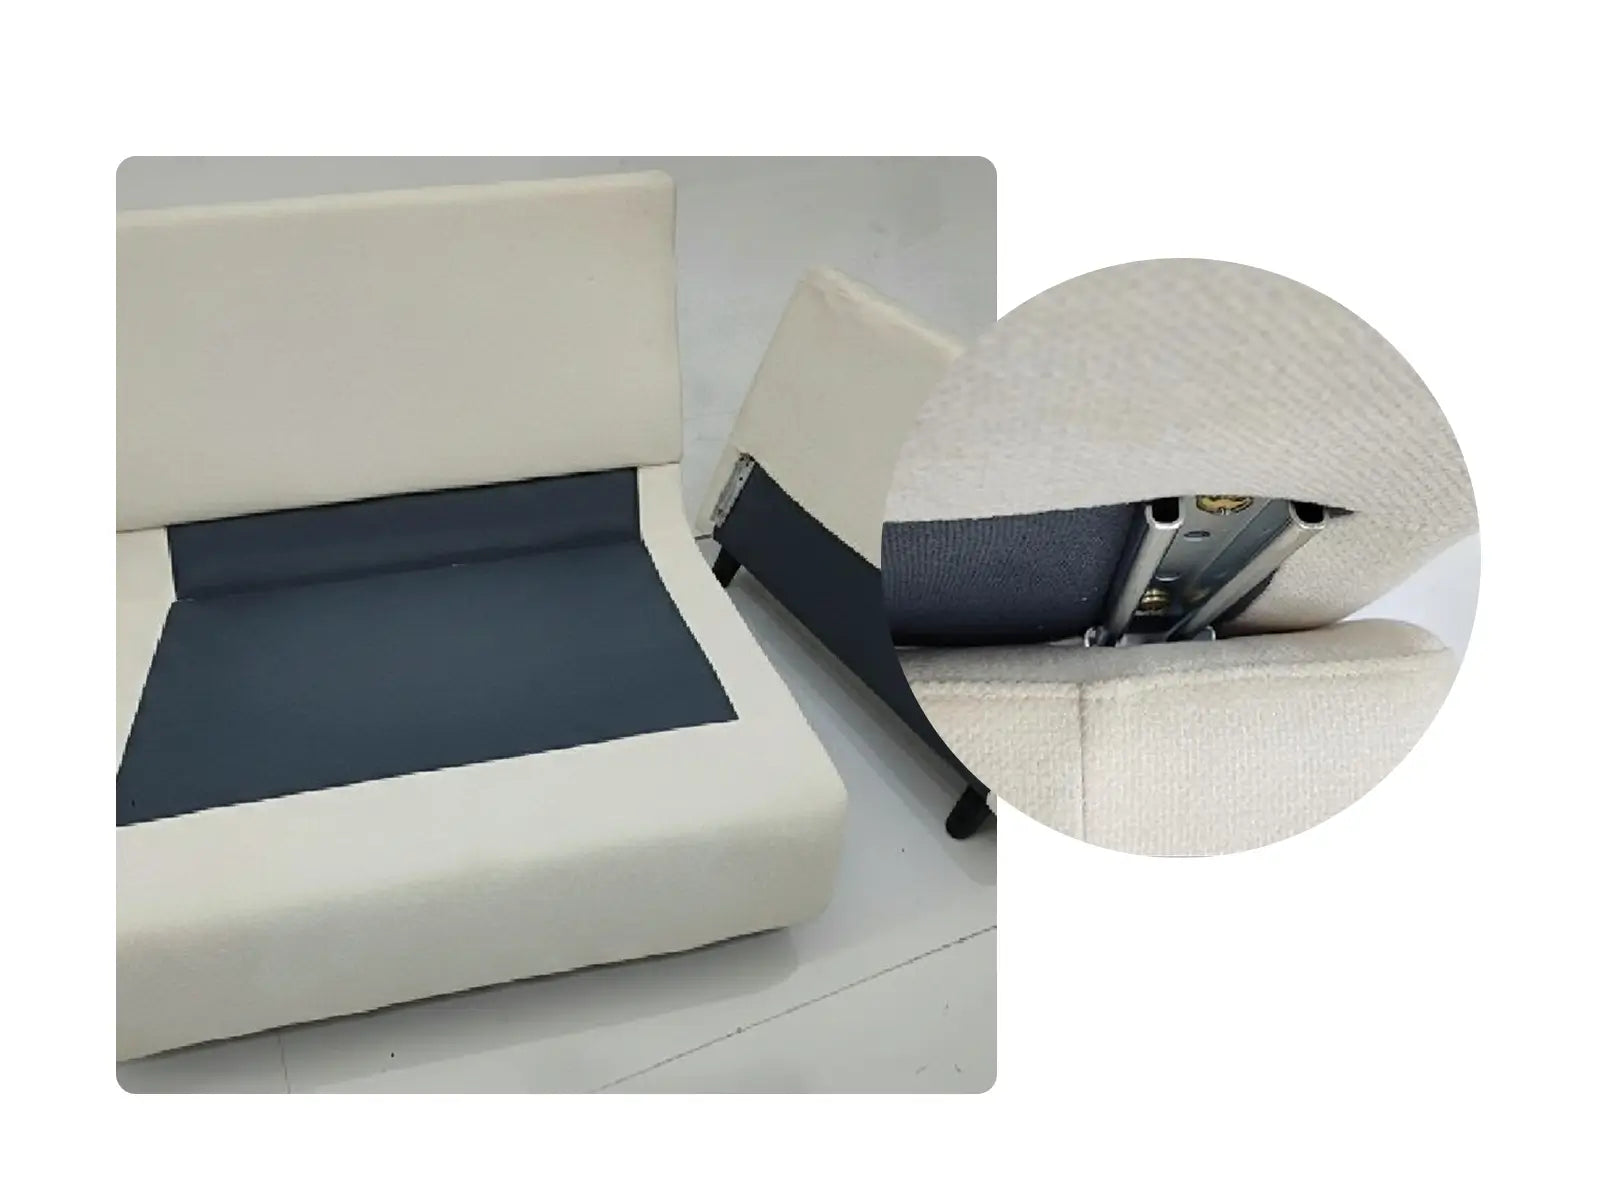
Insert the latch of the sofa base into the slider of the backbest.
Step 2
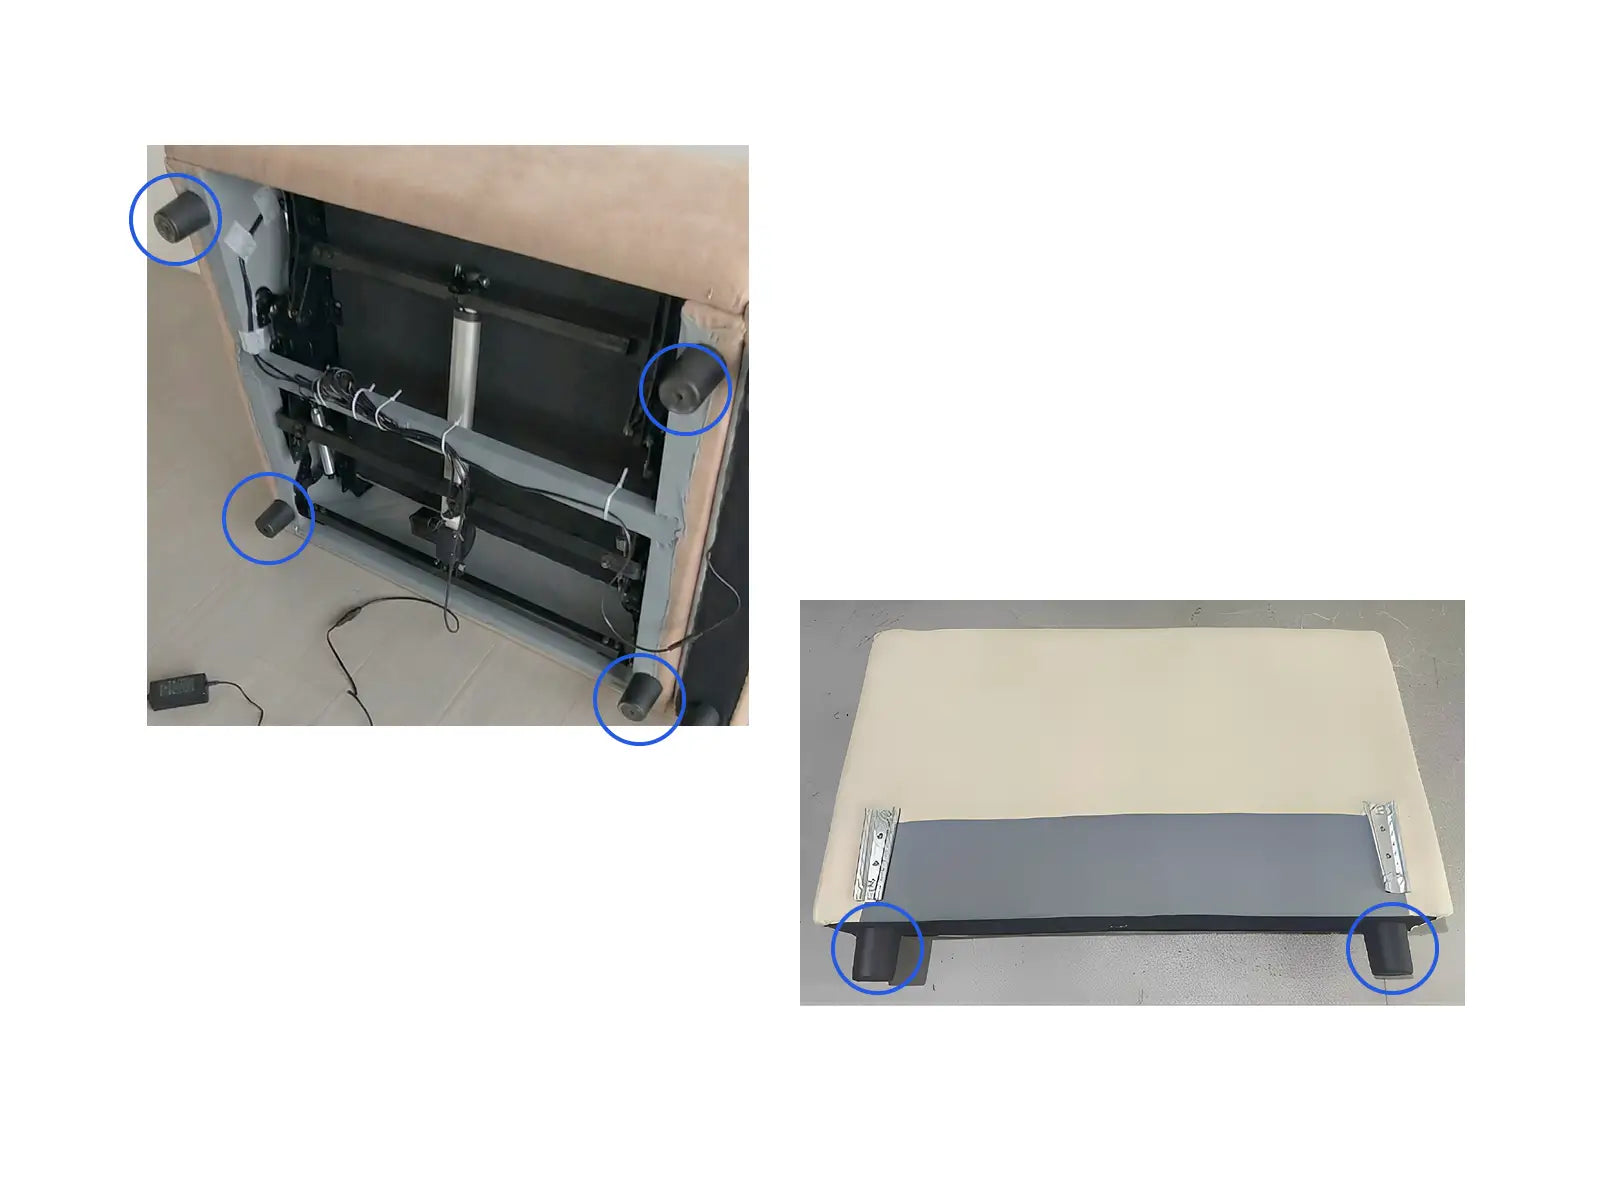
Secure the legs of the sofa.
Step 3
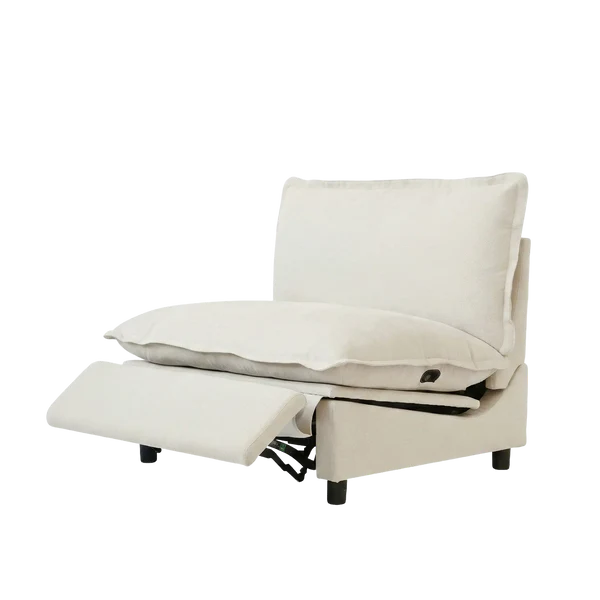
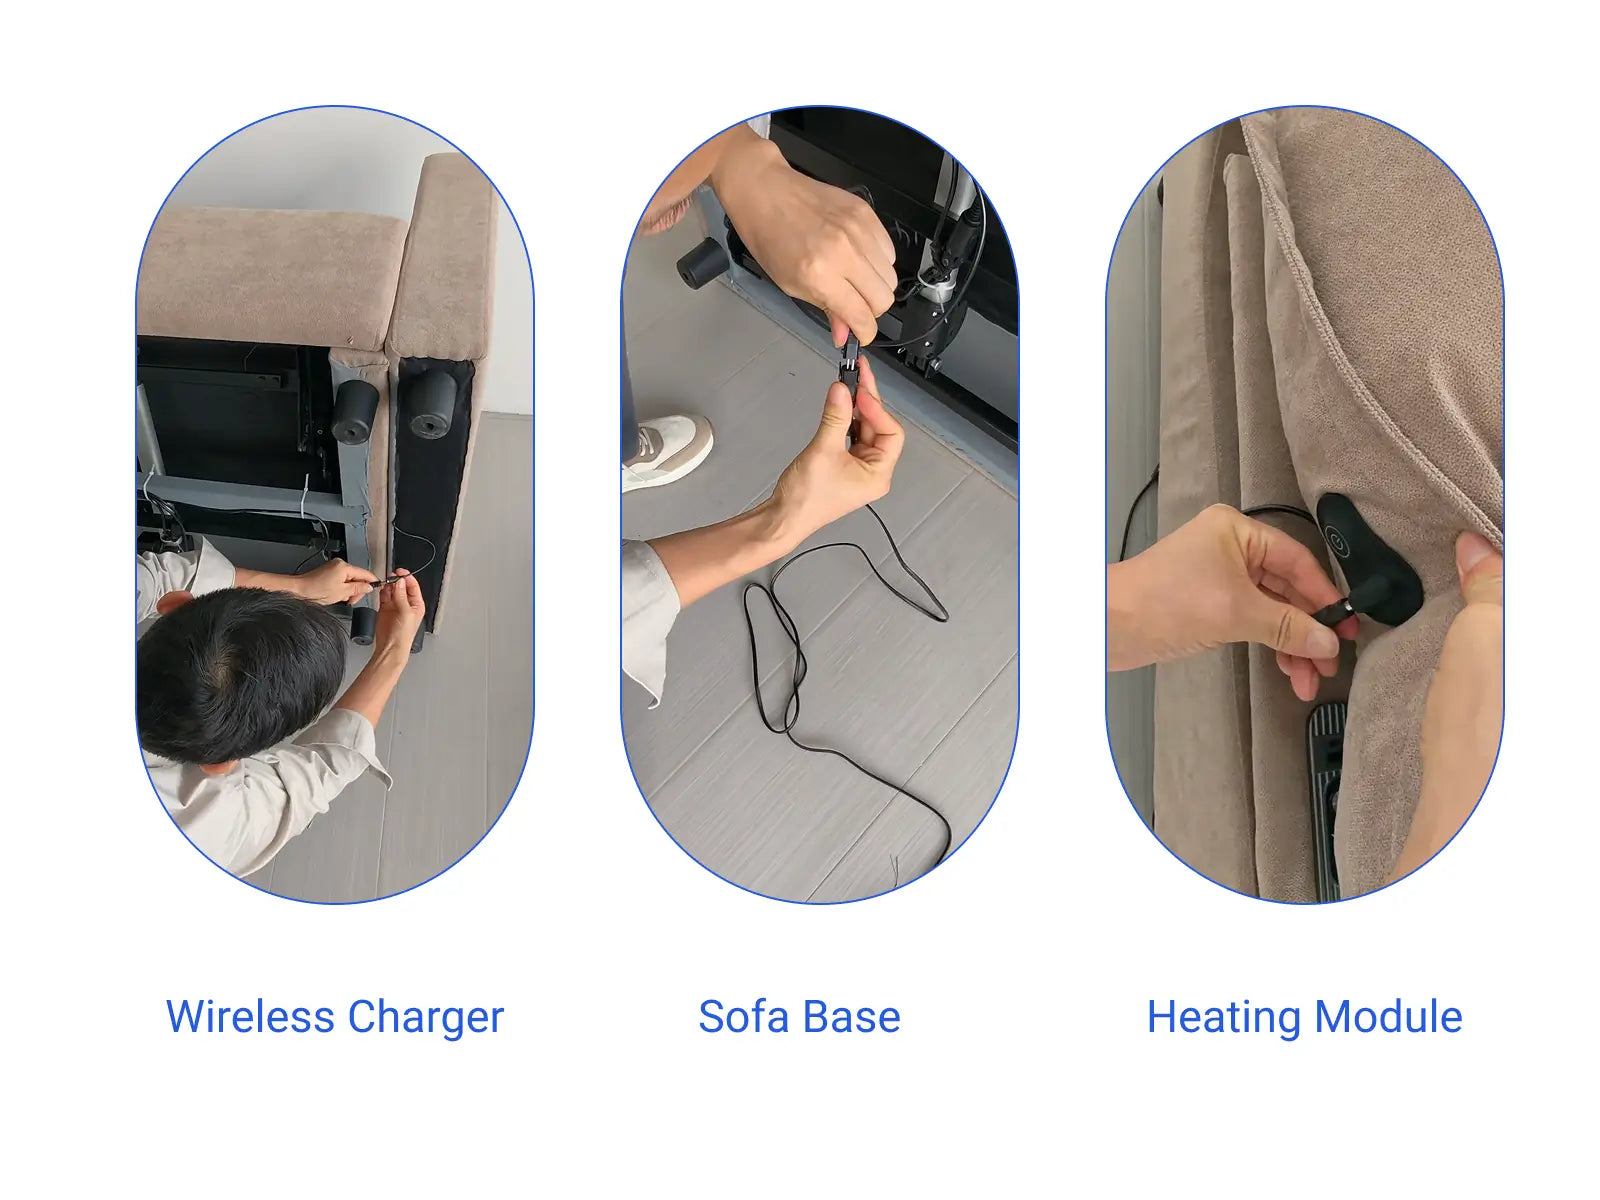
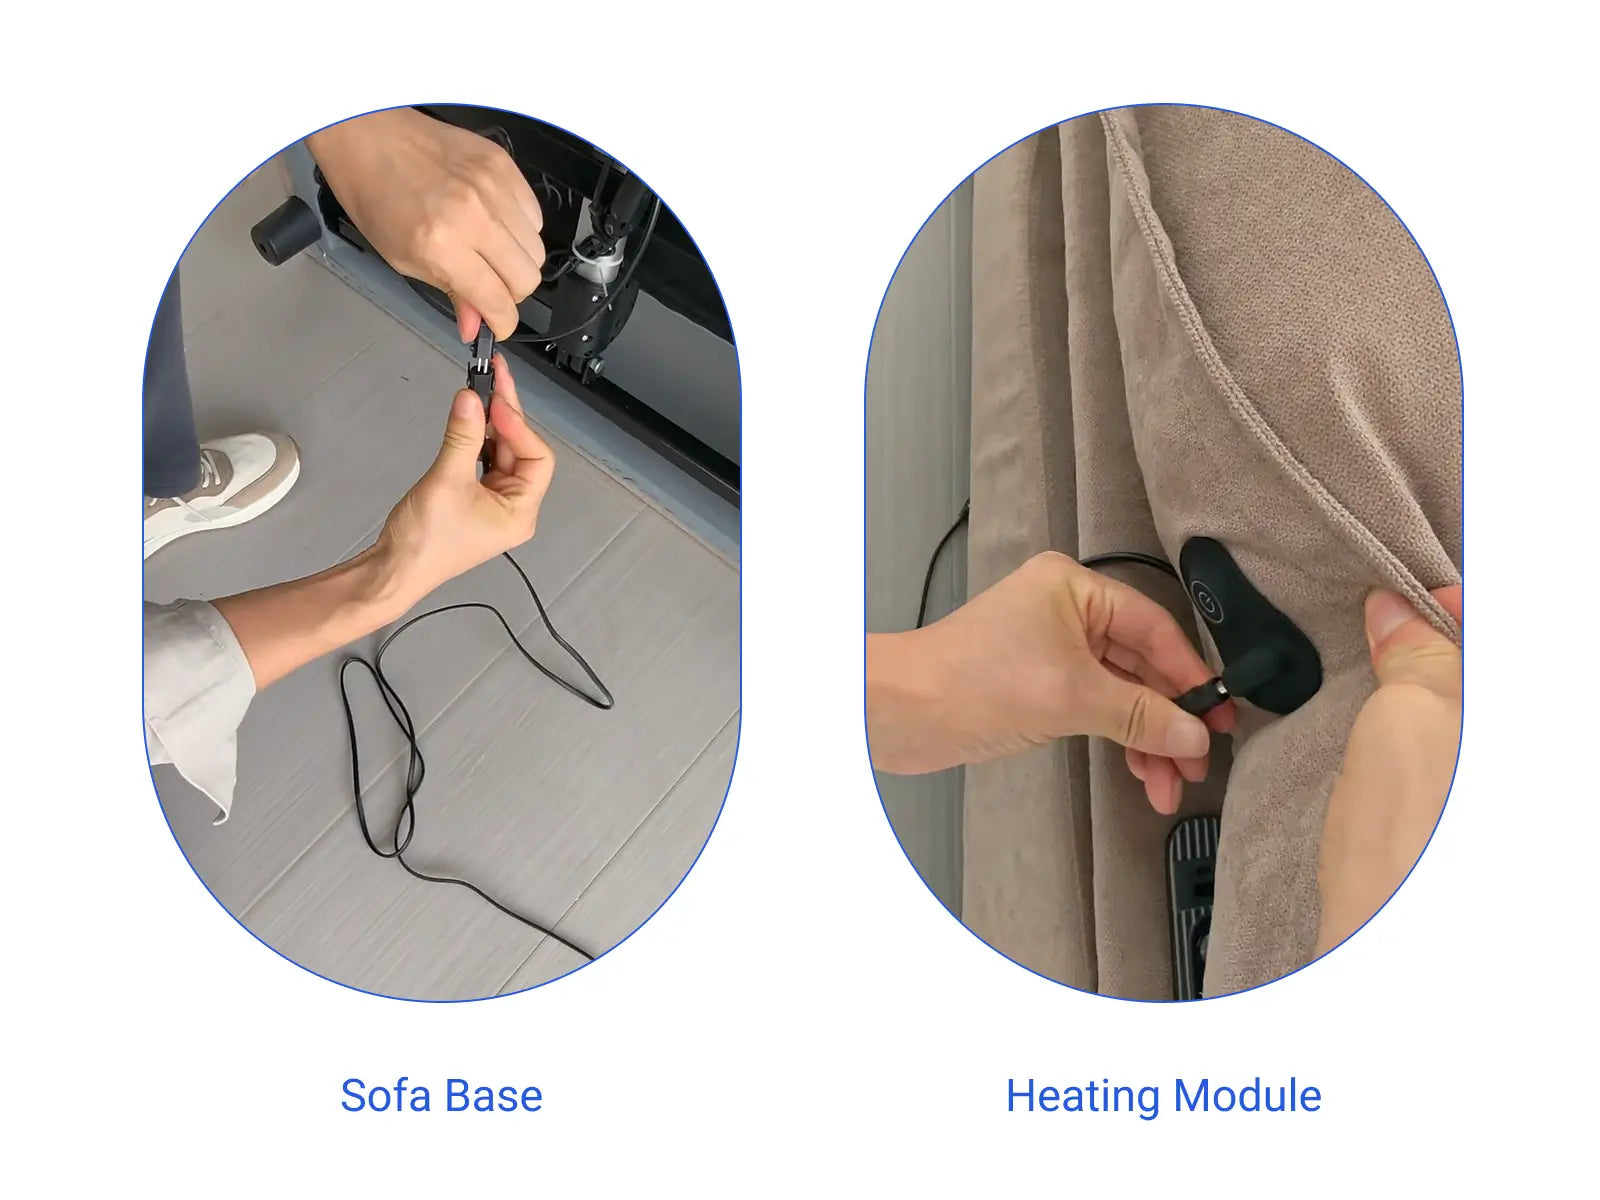
Connect the three plugs of the power adapter to the sofa base, wireless charger (on the armrest), and heating module (on the Seat cushion) respectively.
Step 4
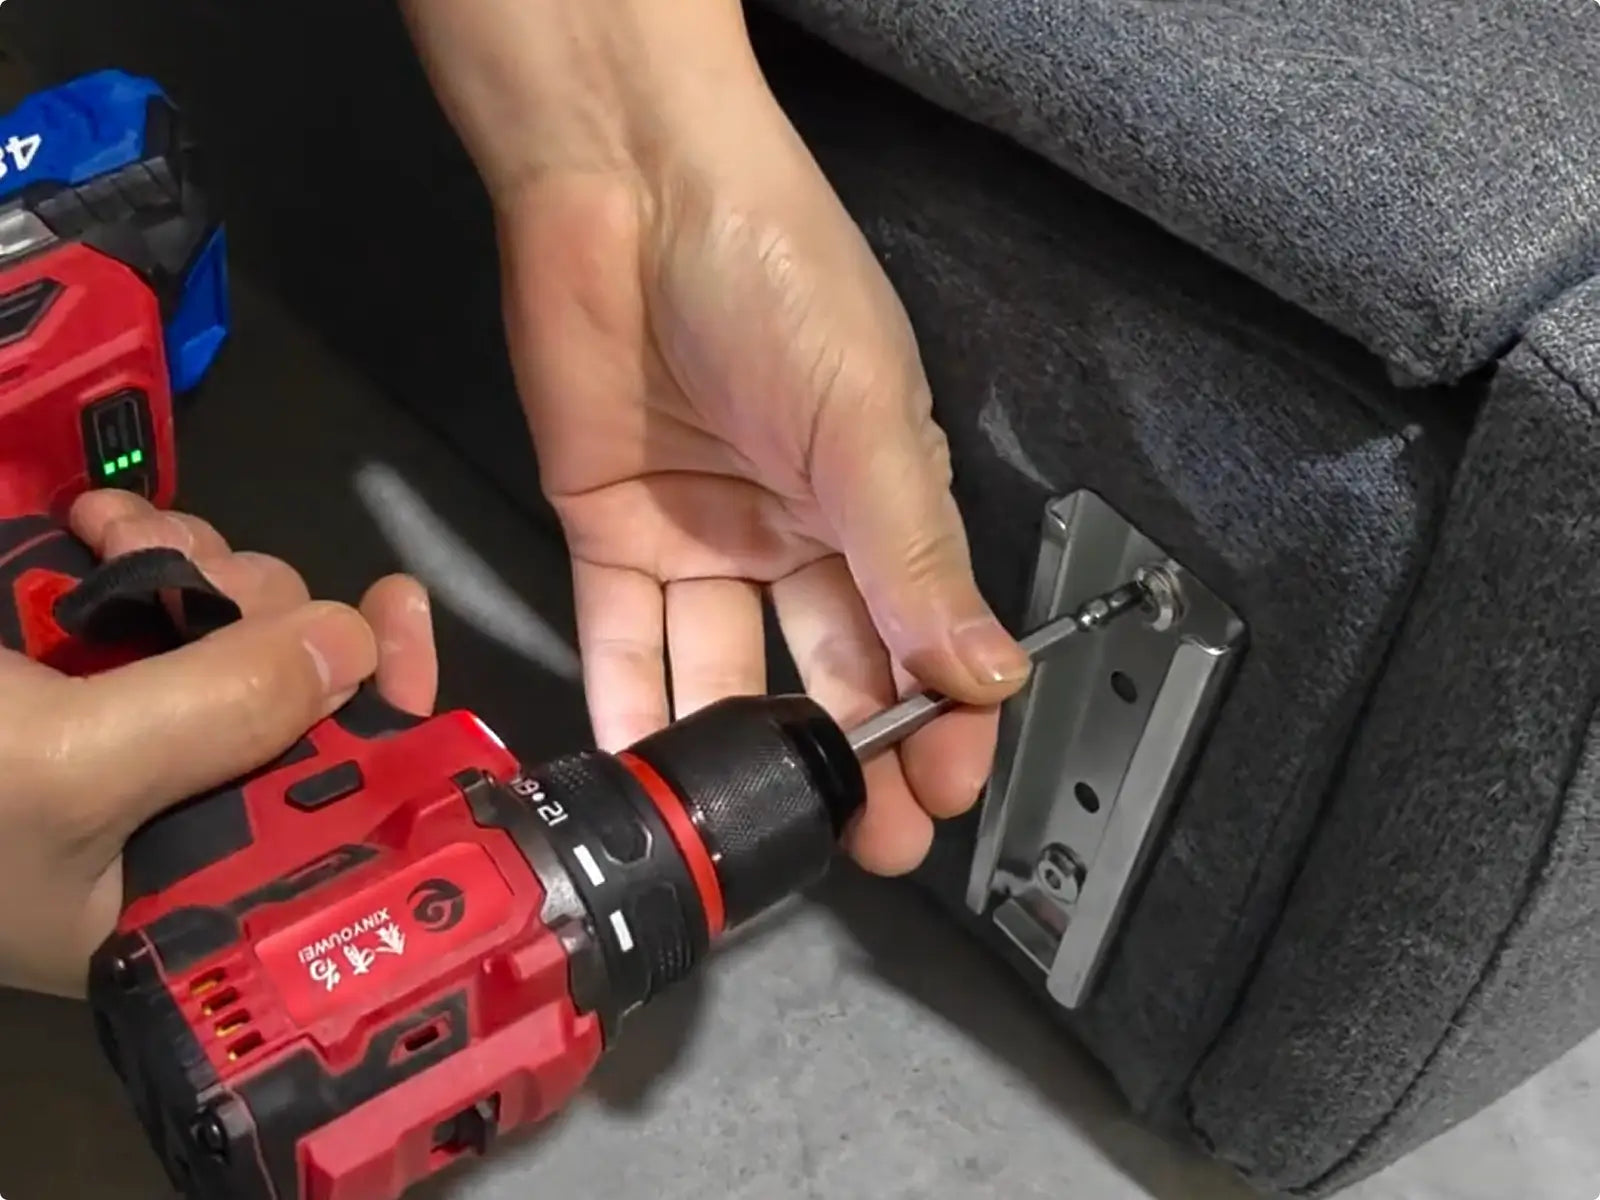
Insert the pin at the bottom of the armrest into the pin on the sofa base.
Supplementary Explanation
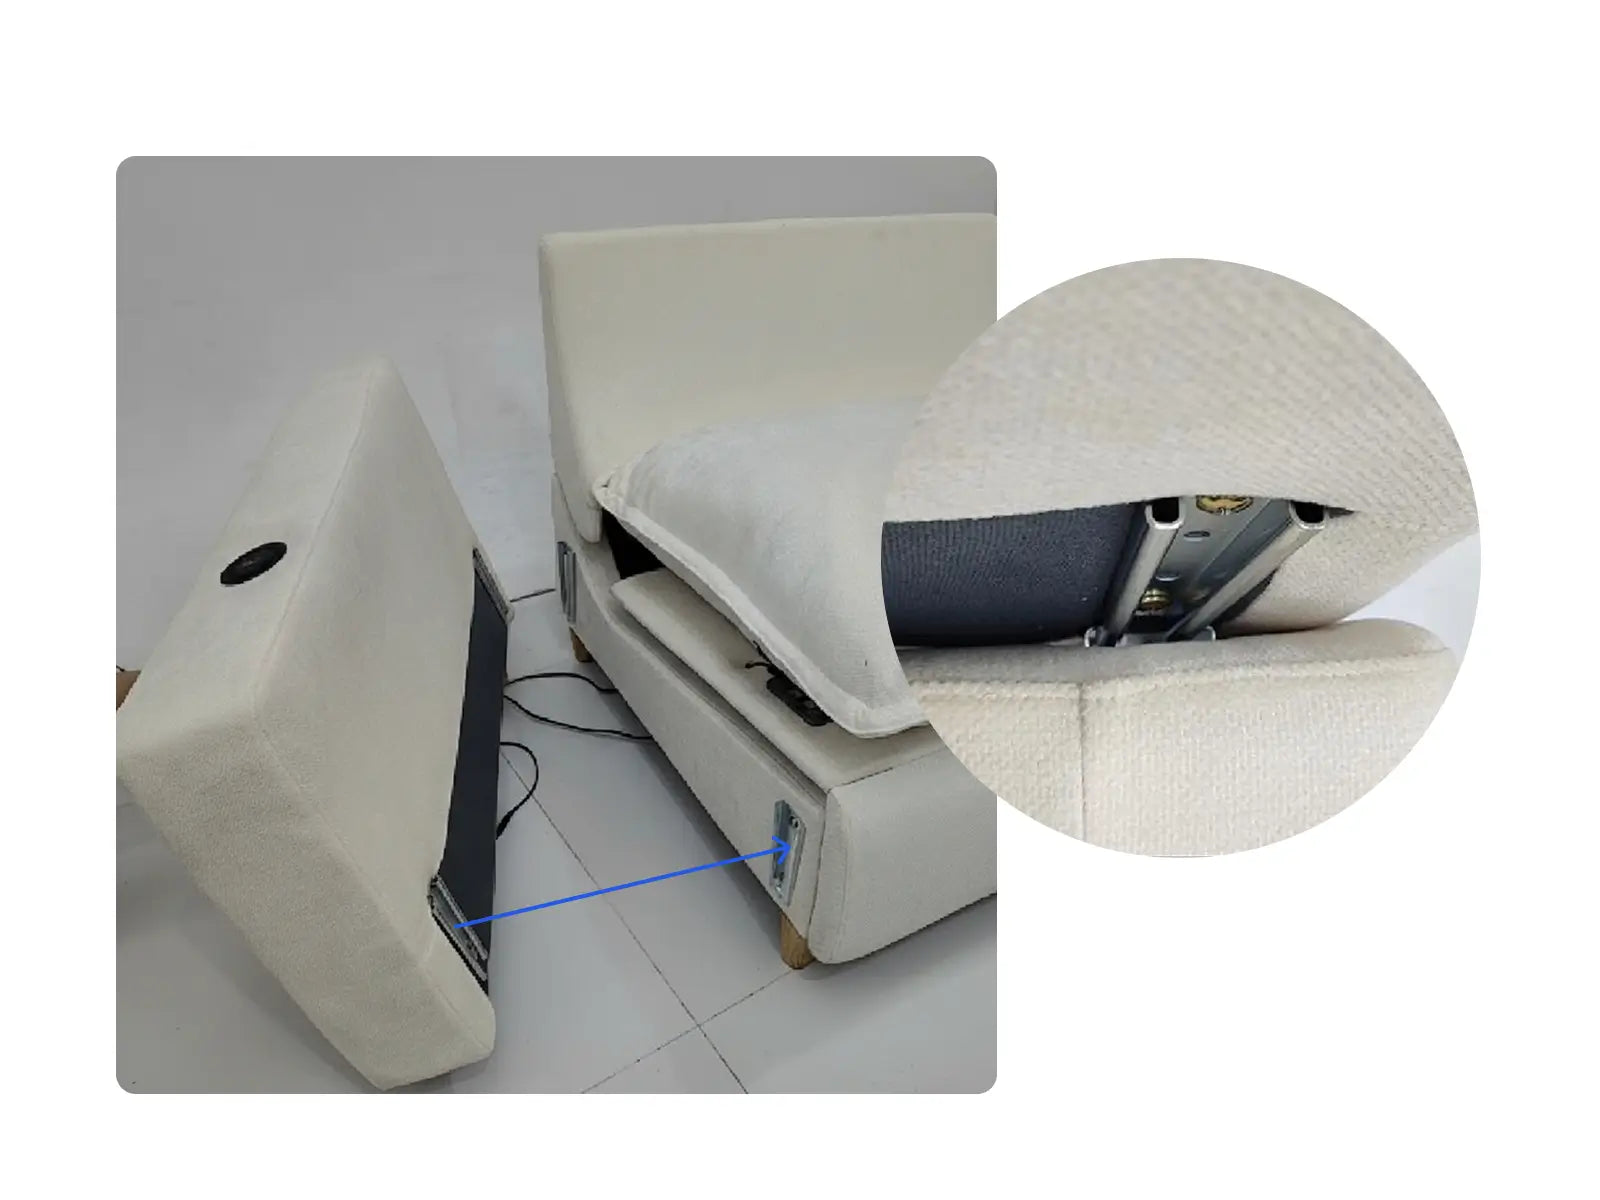
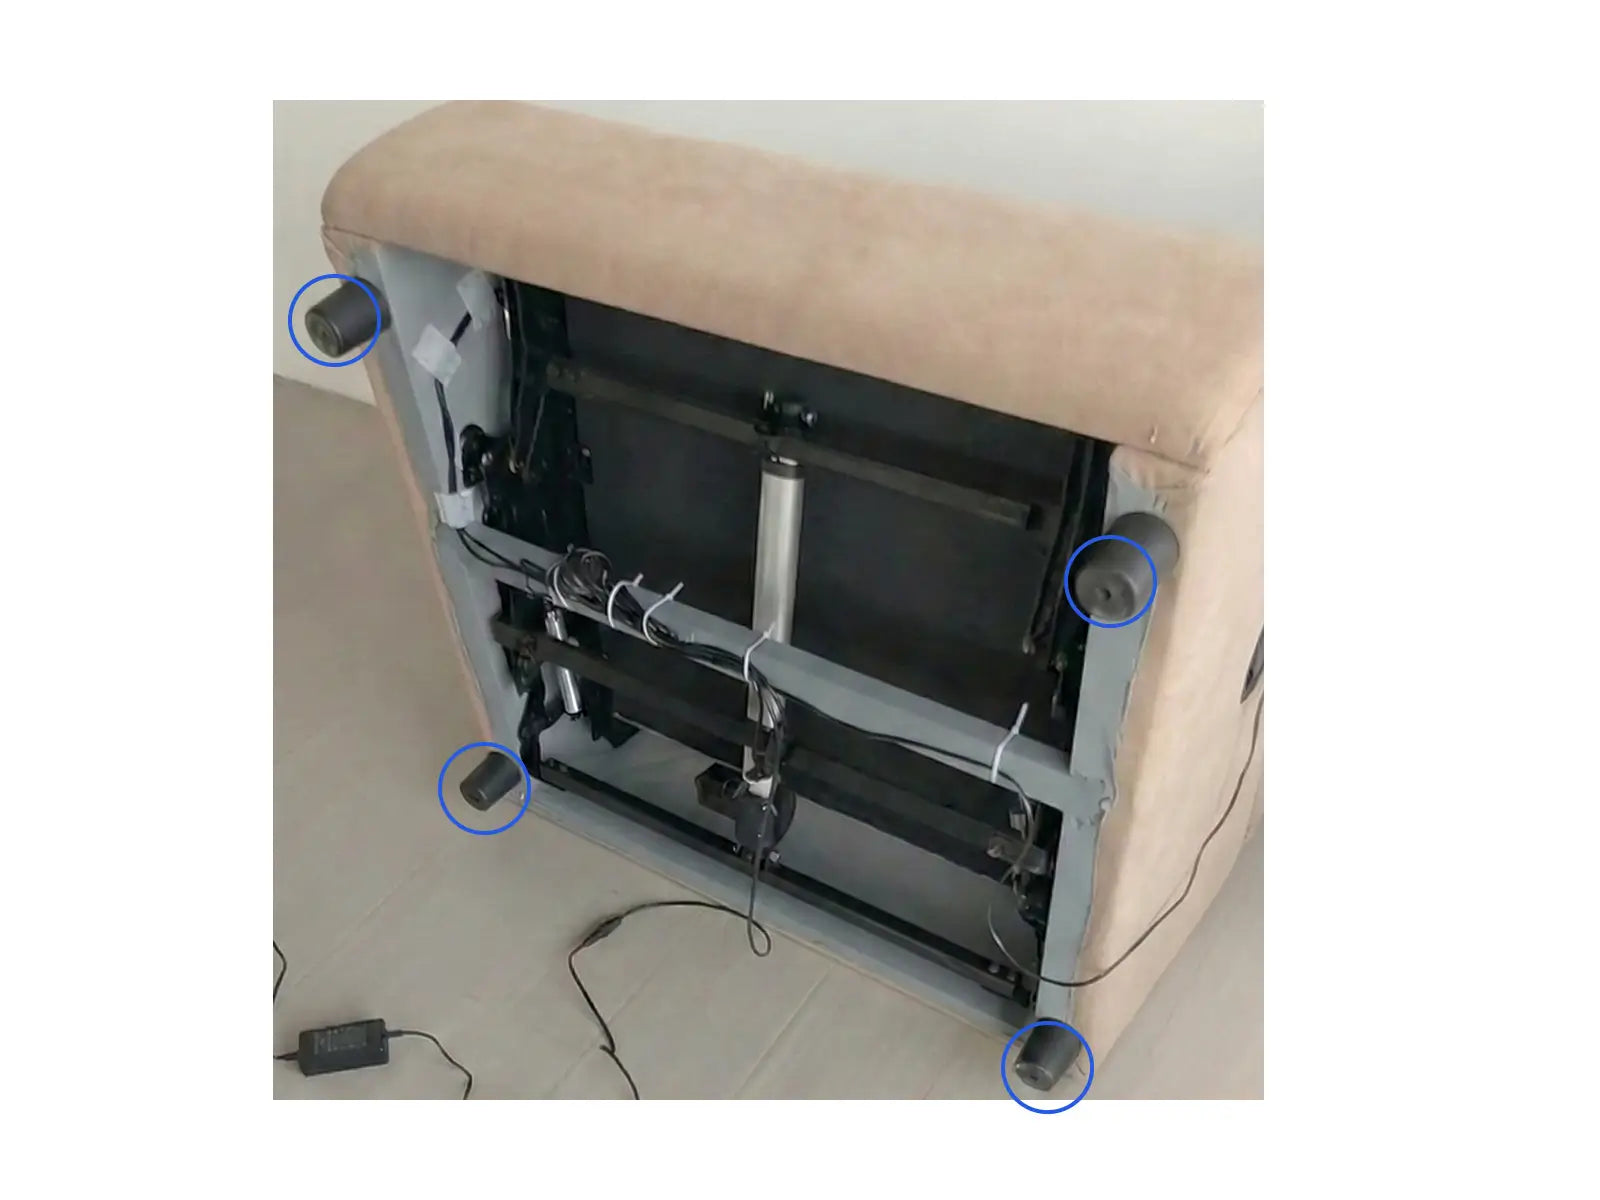
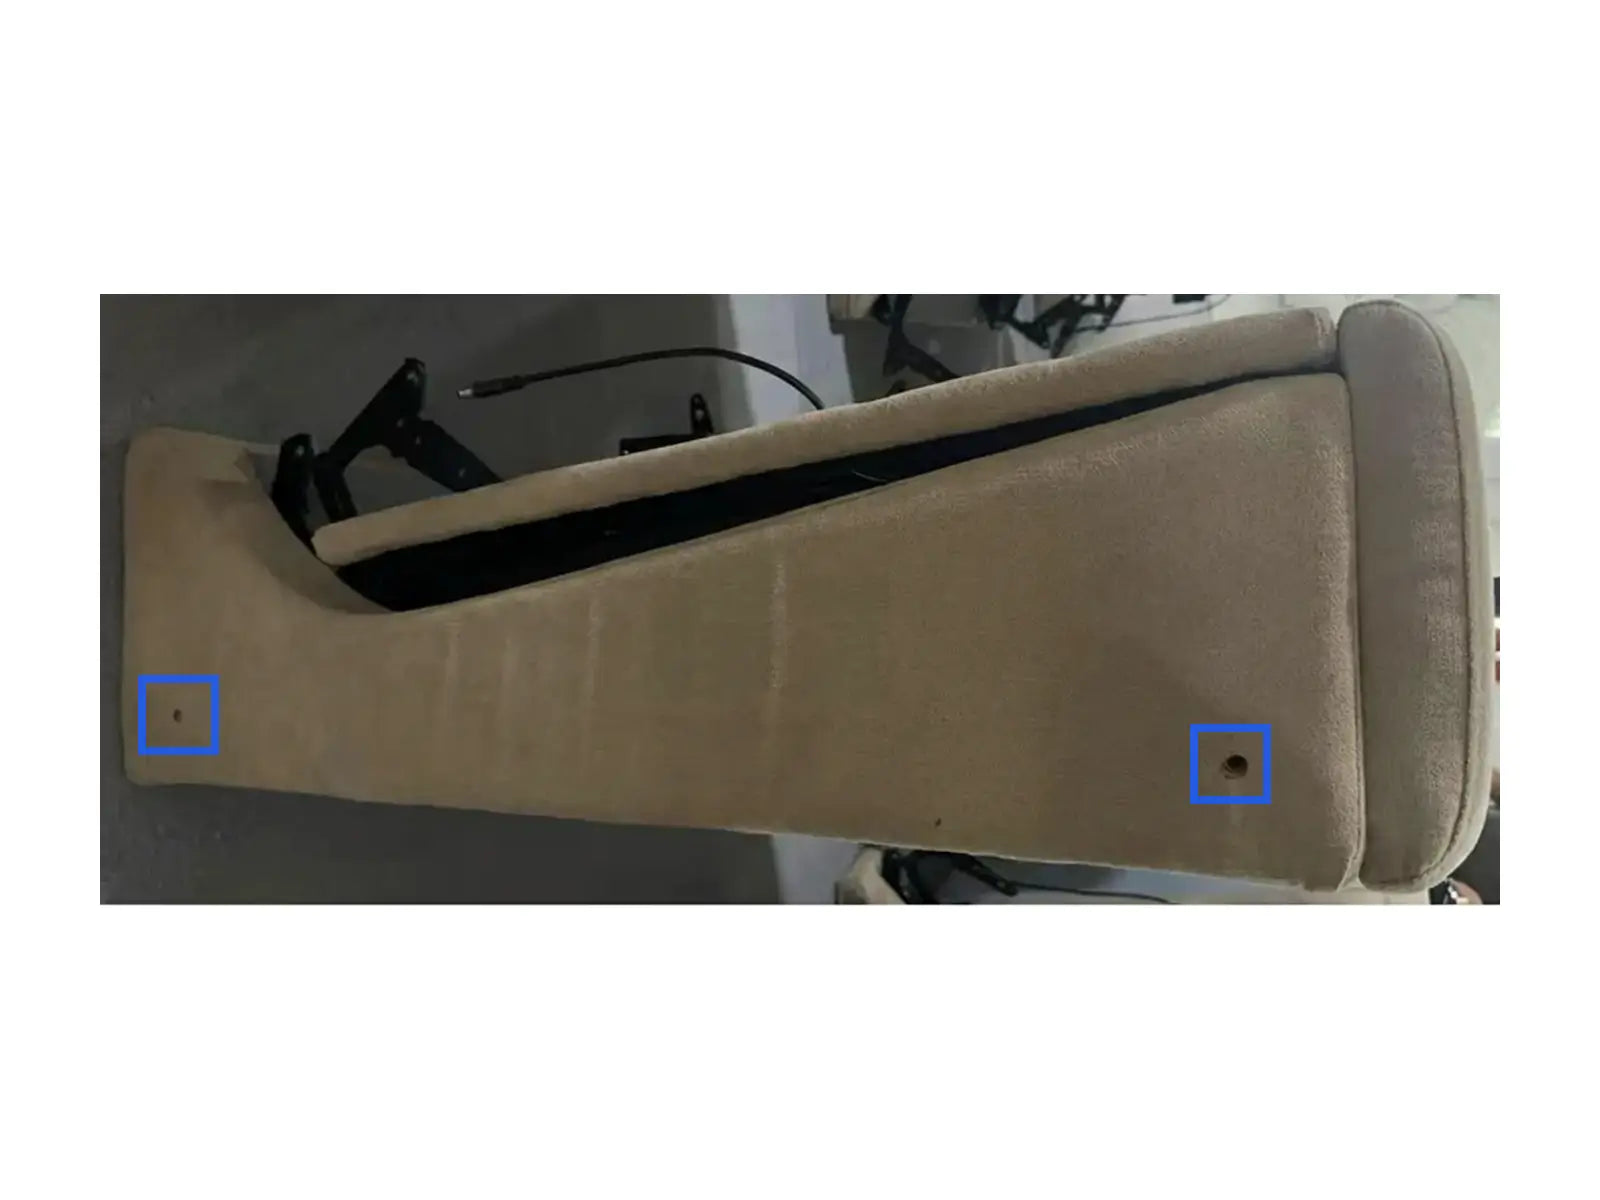
The armrests are interchangeable and can be installed on either the left or right side of the sofa. Simply pull upwards to remove the armrests. Unscrew the side pins shown in the picture, and then reinstall them into the pre-drilled holes on the other side of the sofa. Reinstalling the armrests will change the sofa from a left-side to a right-side sofa.
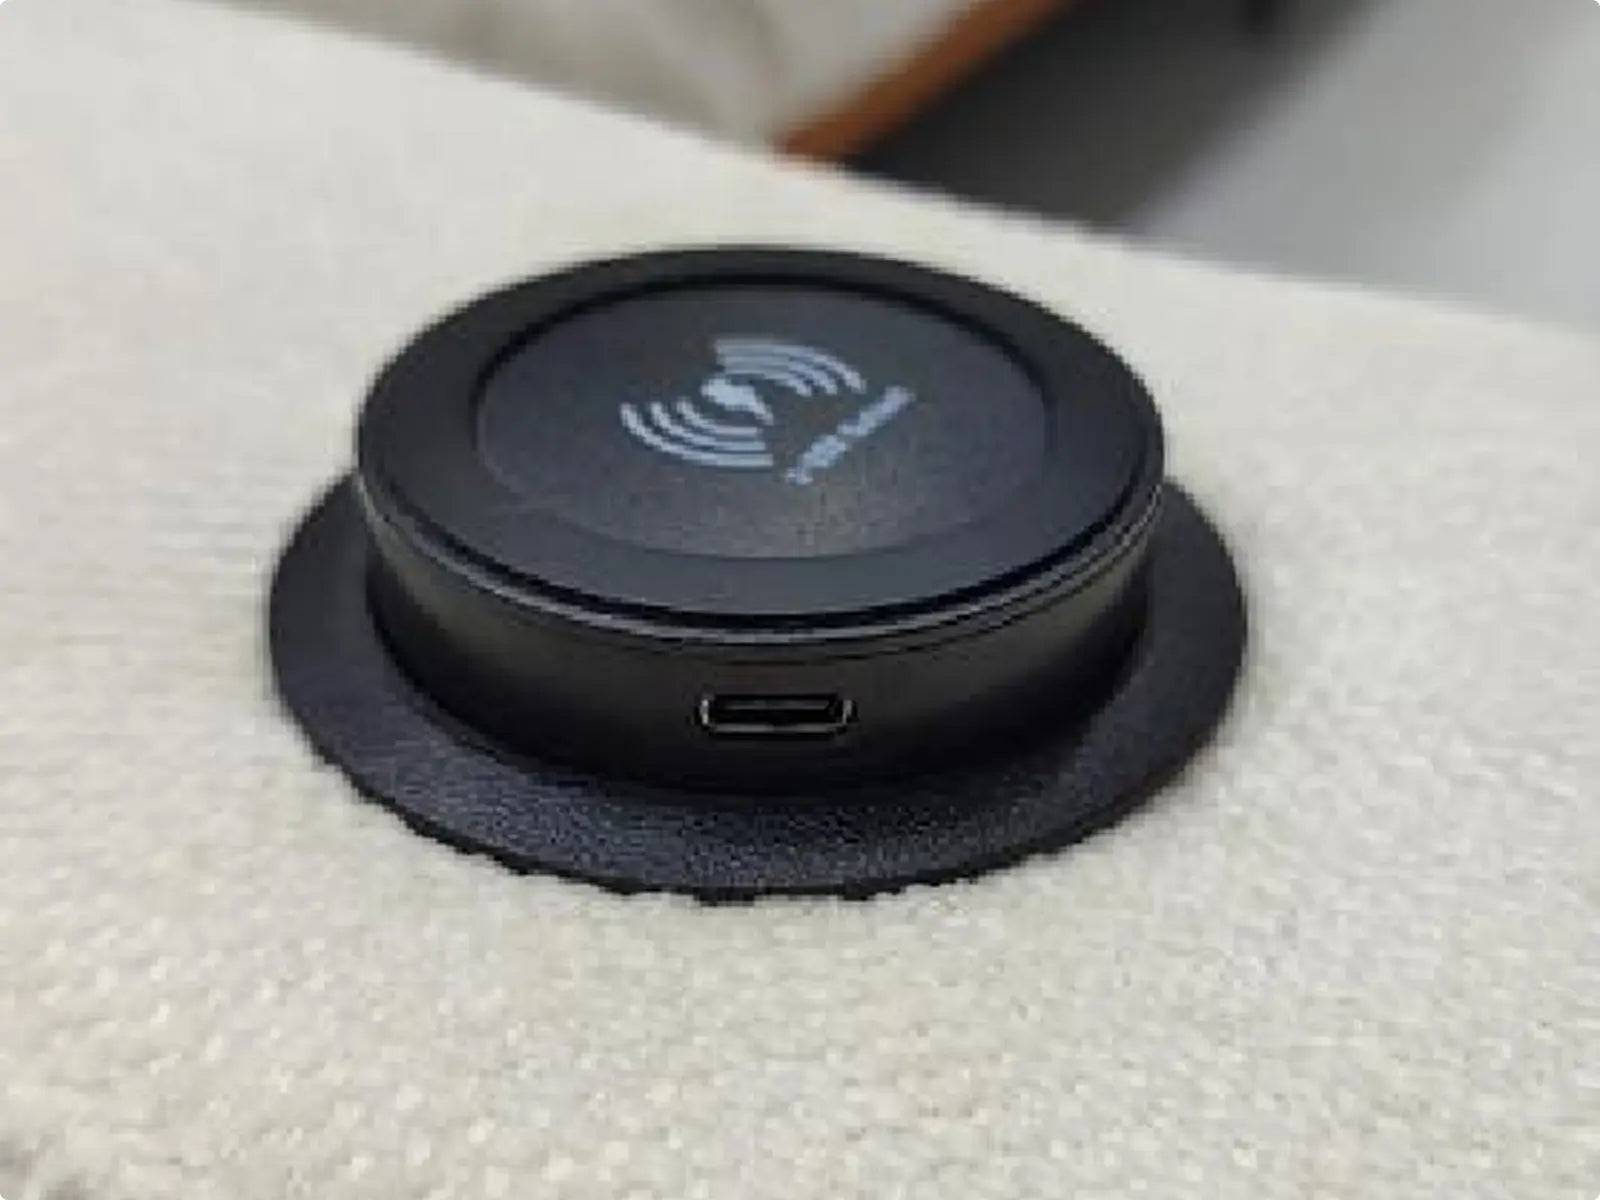
Press the wireless charger, and the USB/TYPE-C charging port pops up.
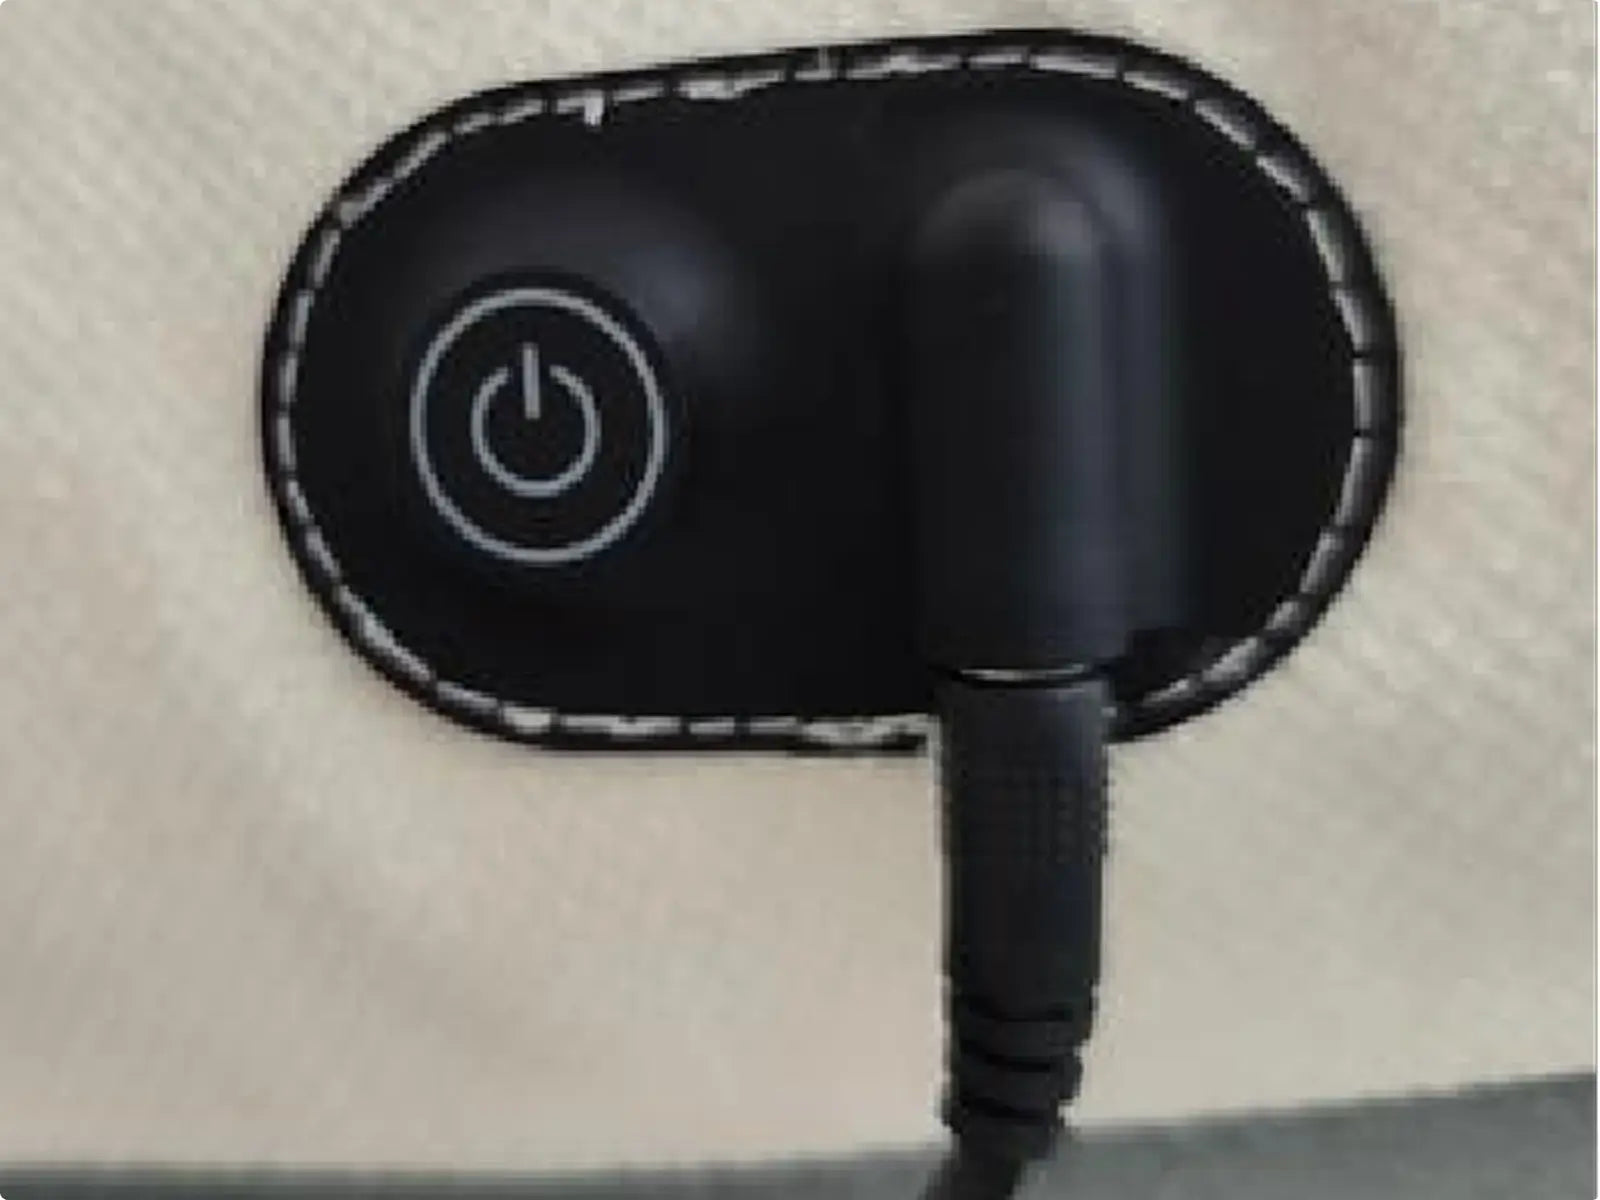
Press and hold the switch button for 3 seconds to start heating. Short press the switch button to switch the temperature, then long press the switch button again for 3 seconds to turn off the heating.
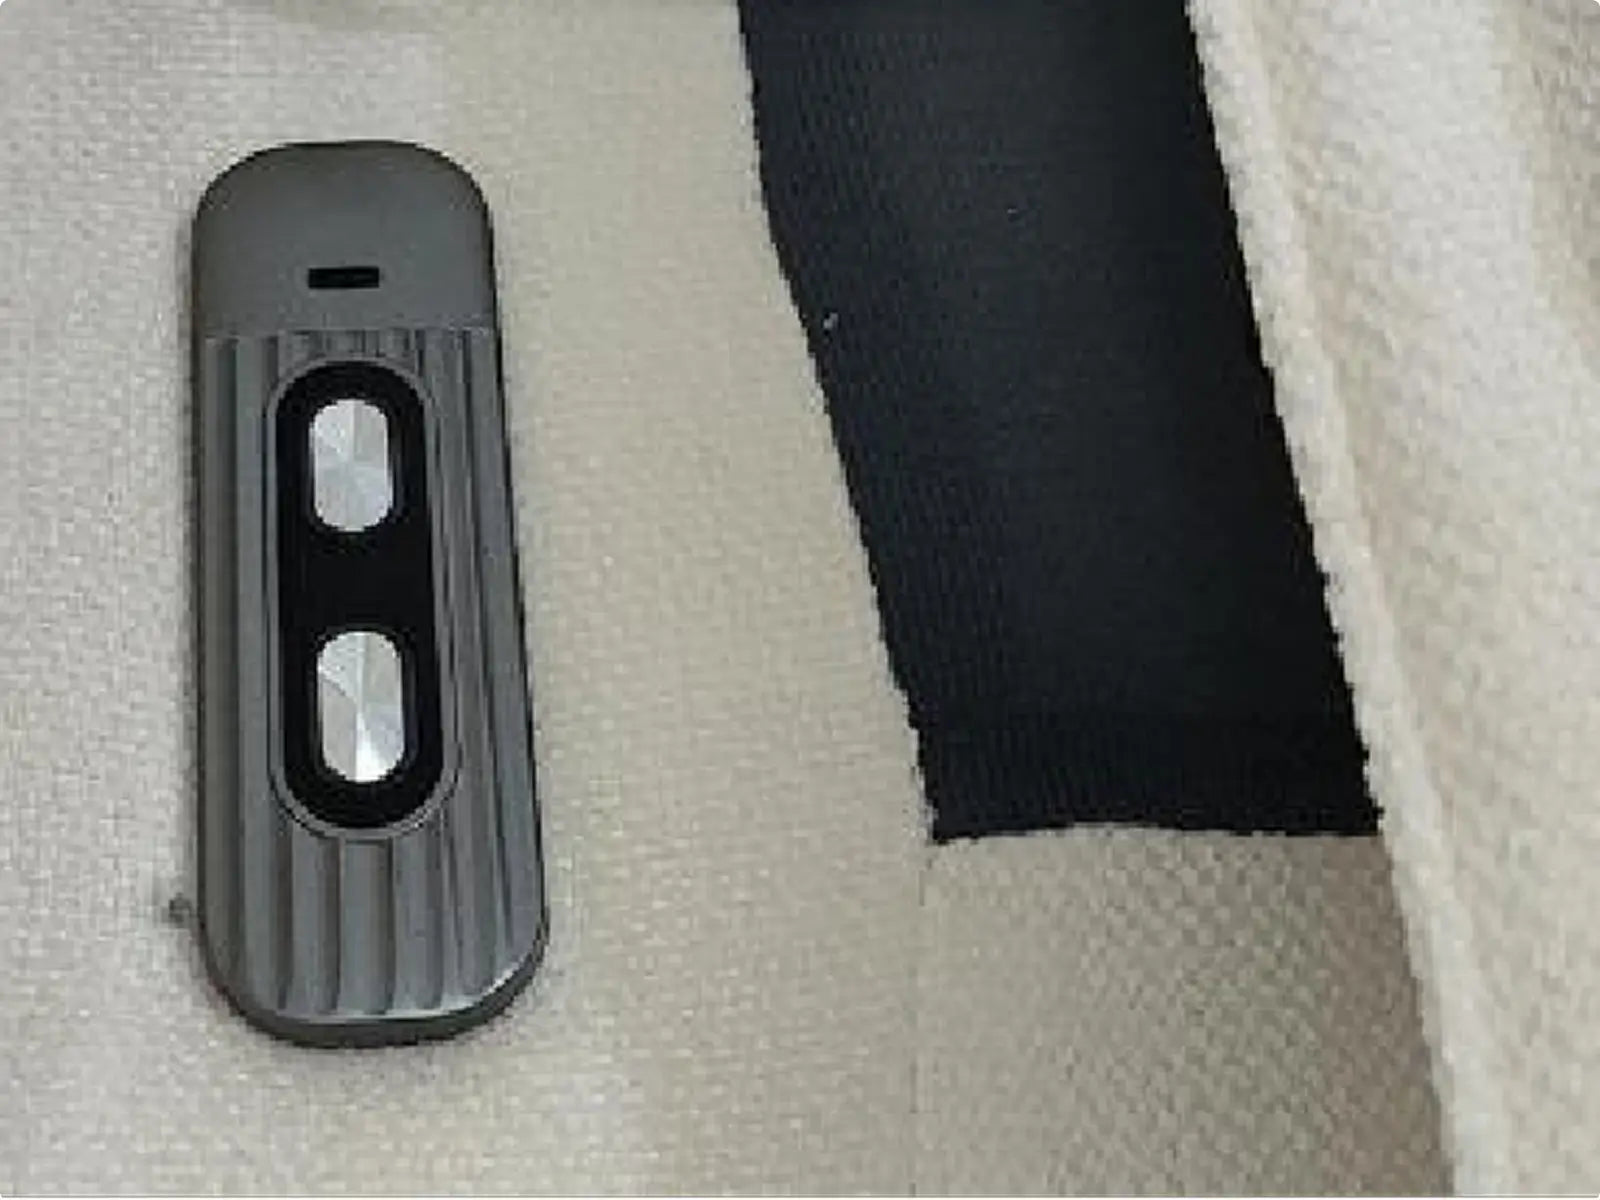
Long press the button in front,raise the leg rest and fold down the backrest. Press and hold the button at the back to retract the leg rest and raise the backrest.
Installation 151-2
(Side Sofa)
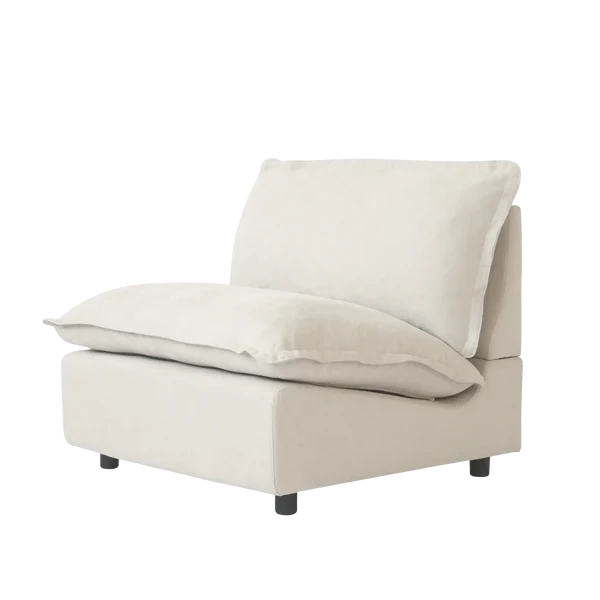
Sofa Base
Backrest
Back Cushion
Seat Cushion
Armrest
Legs
 Bolt
Bolt
To avoid scratches and swallowing parts,please do not install by children!
Step 1
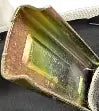
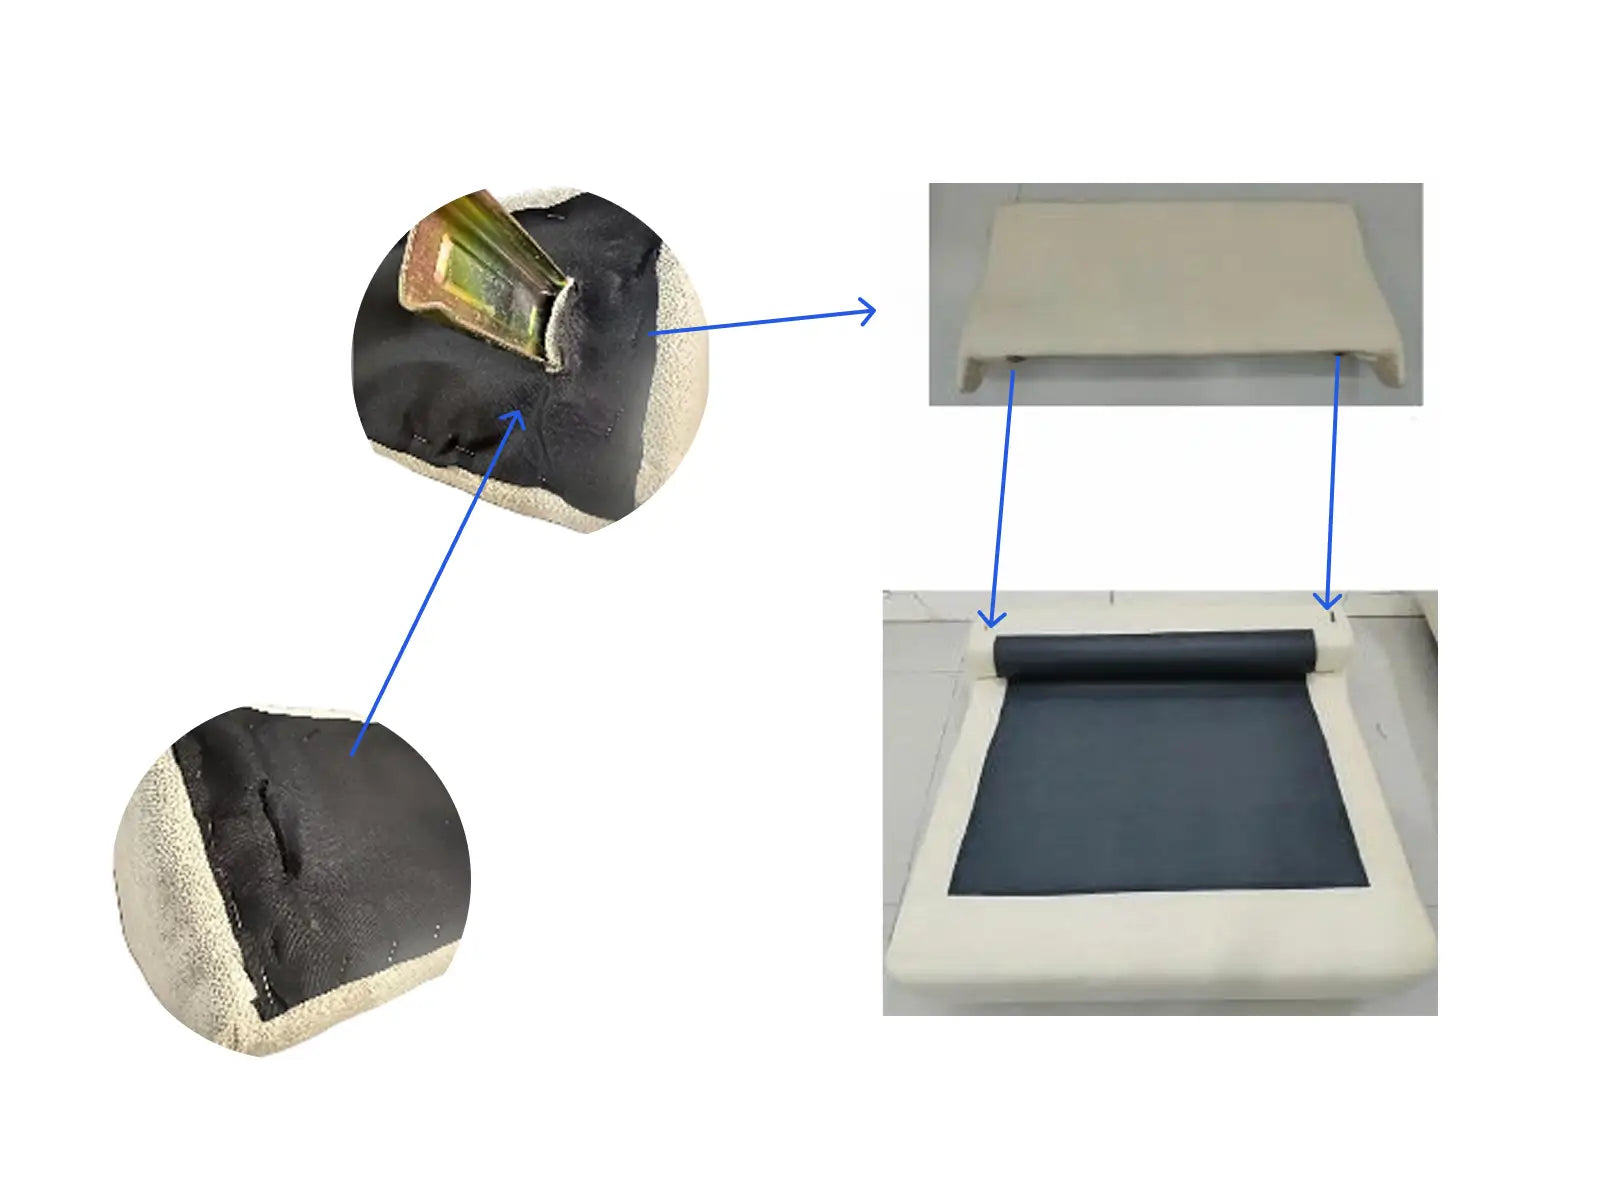
Insert the latch into the backrest, and then insert thebackrest into the base.
Step 2
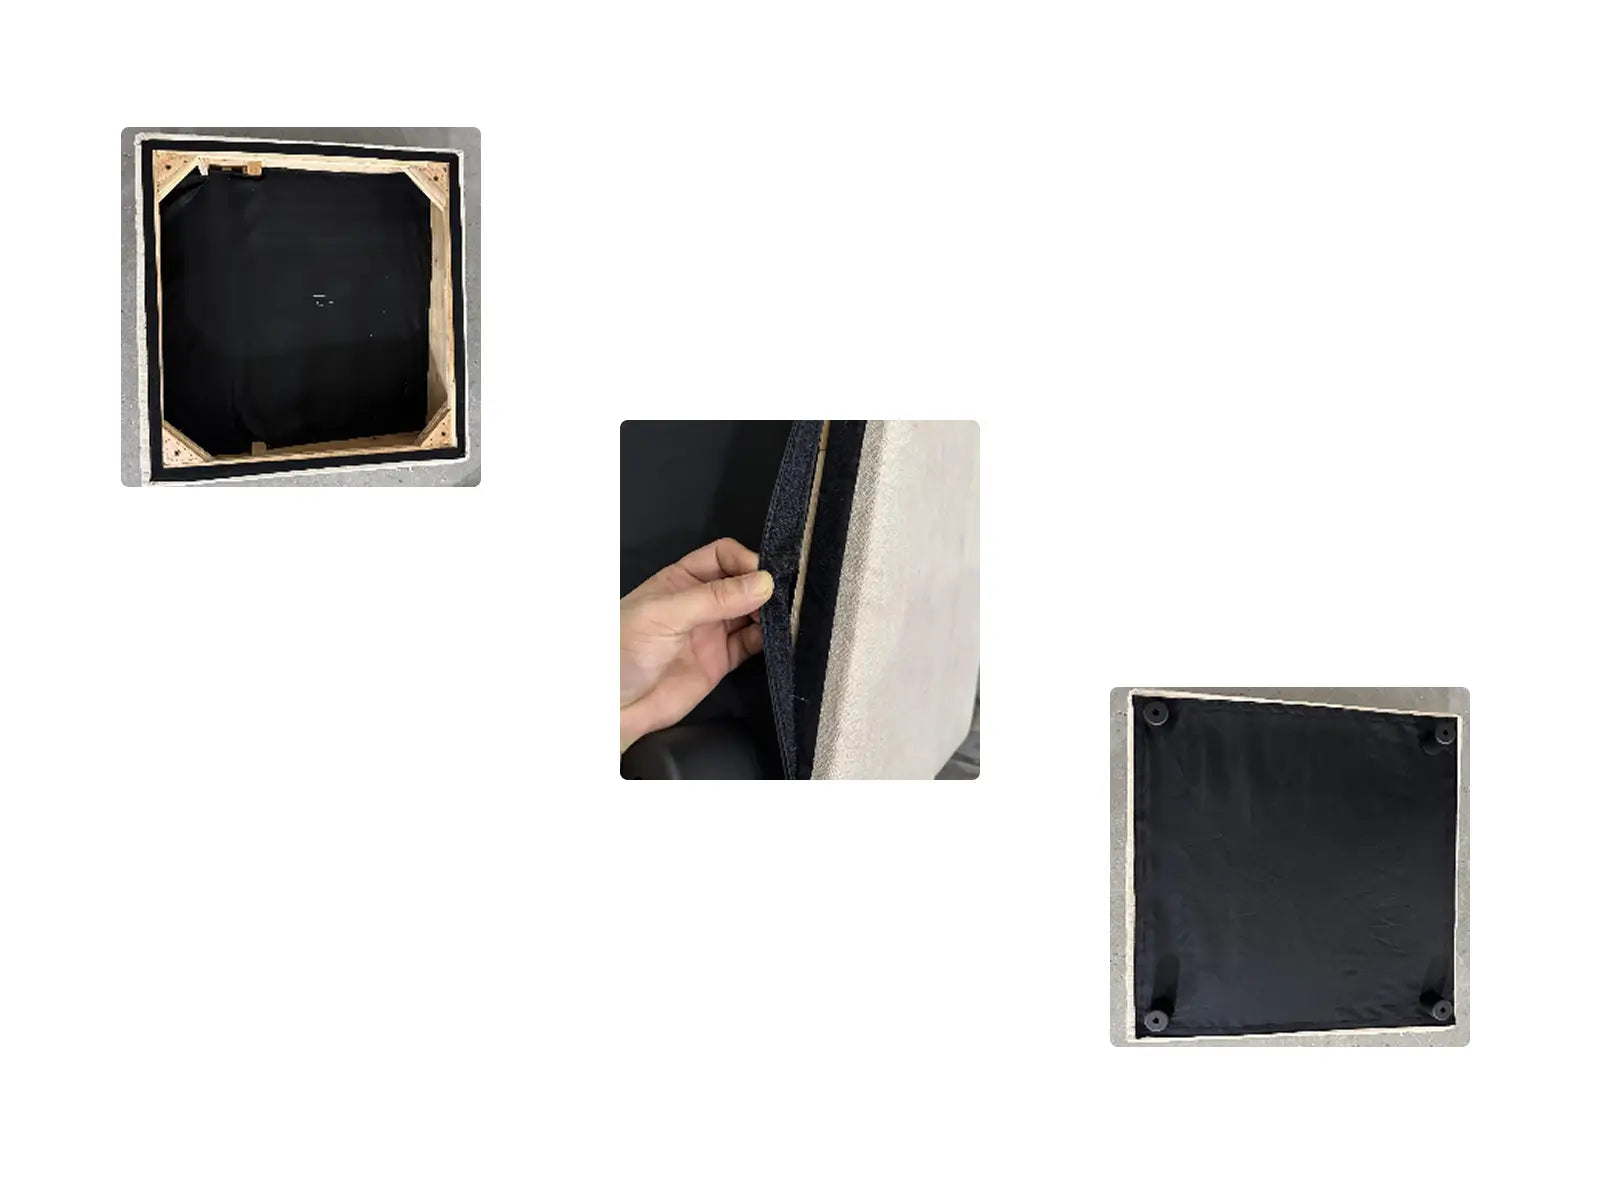
Stick the black cloth tightly along the nylon bucklearound the sofa.
Step 3
Secure the legs of the sofa.
Step 4
Insert the pin at the bottom of the armrest into the pin on the sofa base.
Installation 151-3
(Armless Reclining Sofa)
Sofa Base (Power)
Backrest
Back Cushion
Seat Cushion
Legs
To avoid scratches and swallowing parts,please do not install by children!
Step 1
Insert the latch of the sofa base into the slider of the backbest.
Step 2
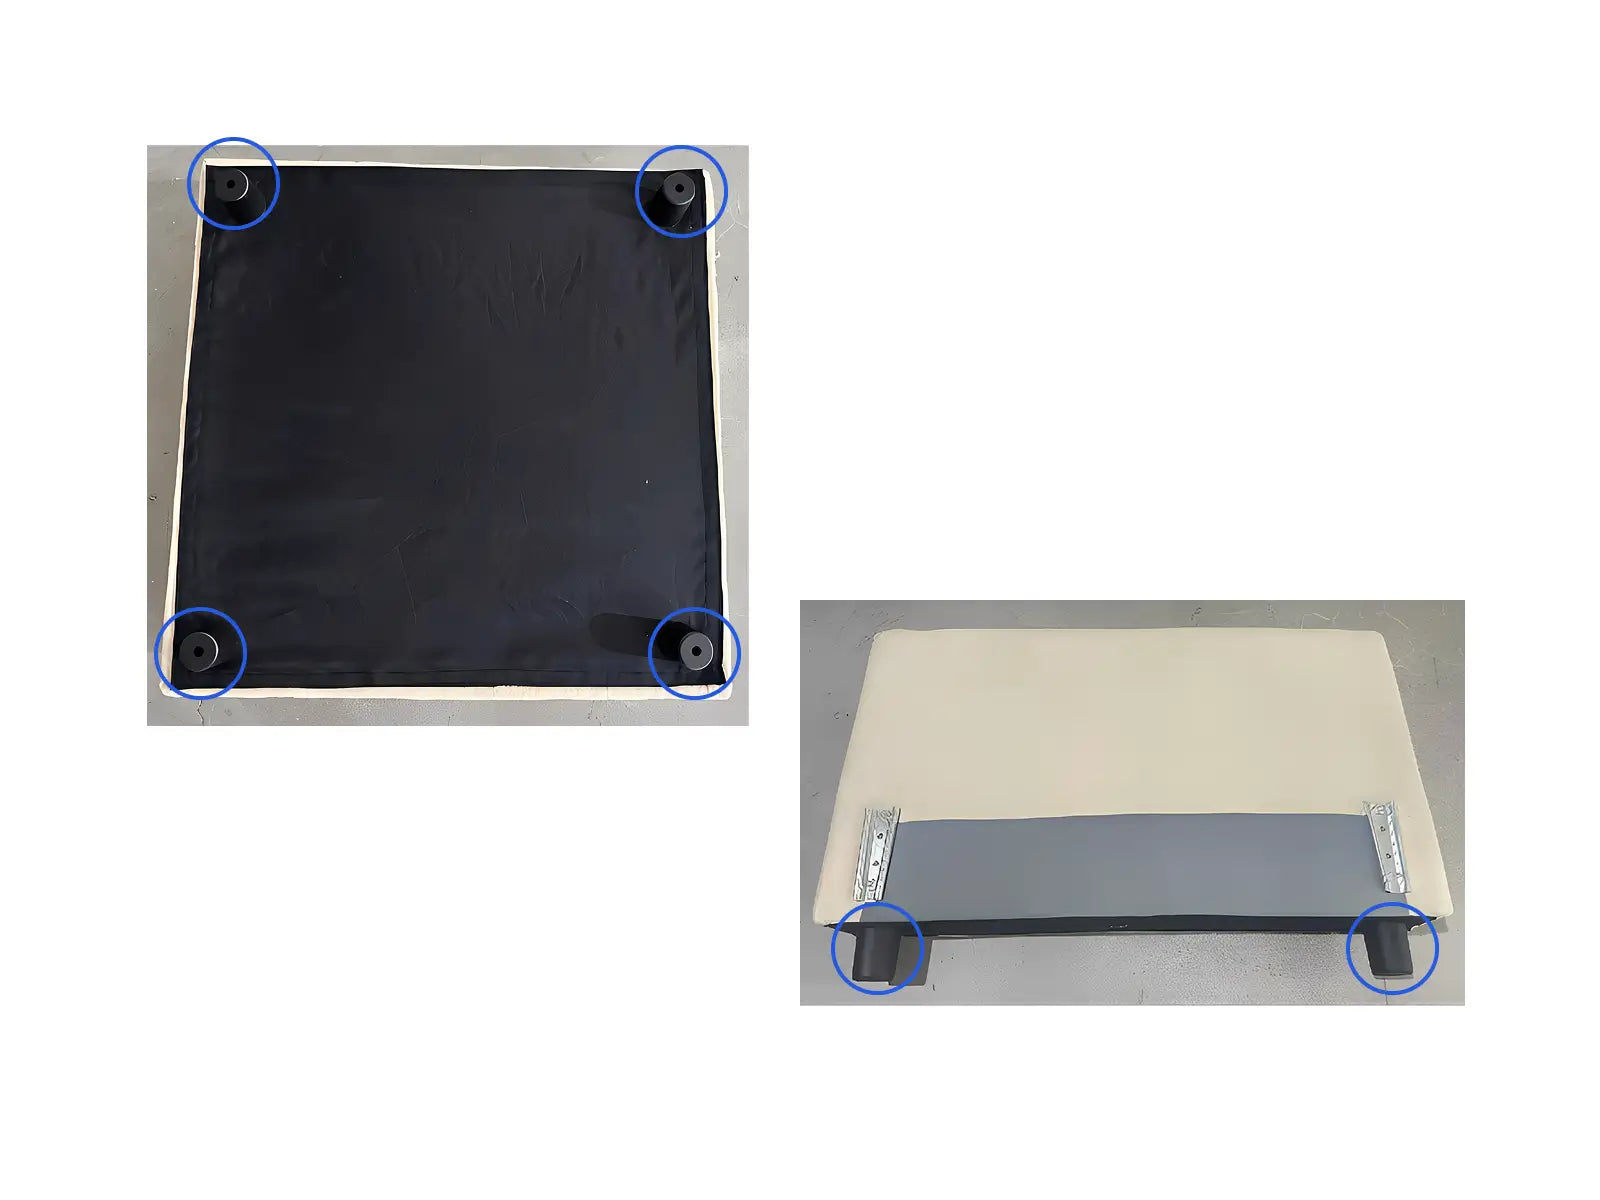
Secure the legs of the sofa.
Step 3
Connect the three plugs of the power adapter to the sofa base, wireless charger (on the armrest), and heating module (on the Seat cushion) respectively.
Supplementary Explanation
Press and hold the switch button for 3 seconds to start heating. Short press the switch button to switch the temperature, then long press the switch button again for 3 seconds to turn off the heating.
Long press the button in front,raise the leg rest and fold down the backrest. Press and hold the button at the back to retract the leg rest and raise the backrest.
Installation 151-4
(Armless Sofa)
Sofa Base
Backrest
Back Cushion
Seat Cushion
Legs
Bolt
To avoid scratches and swallowing parts,please do not install by children!
Step 1
Insert the latch into the backrest, and then insert thebackrest into the base.
Step 2
Stick the black cloth tightly along the nylonbuckle around the sofa and attach the legs.
Installation 151-5
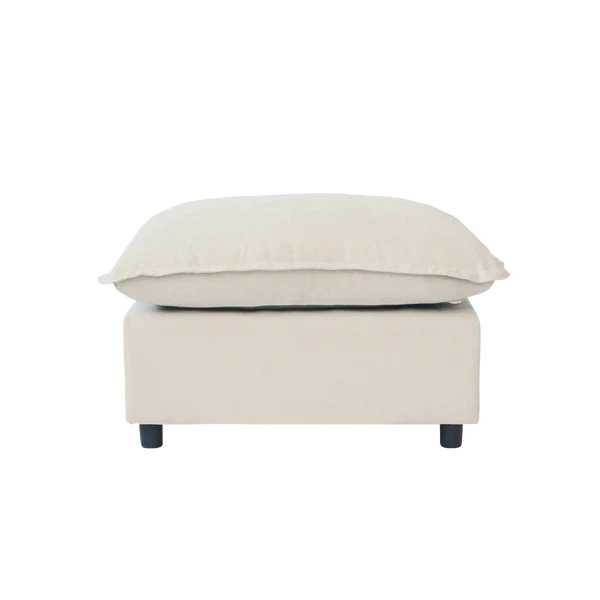
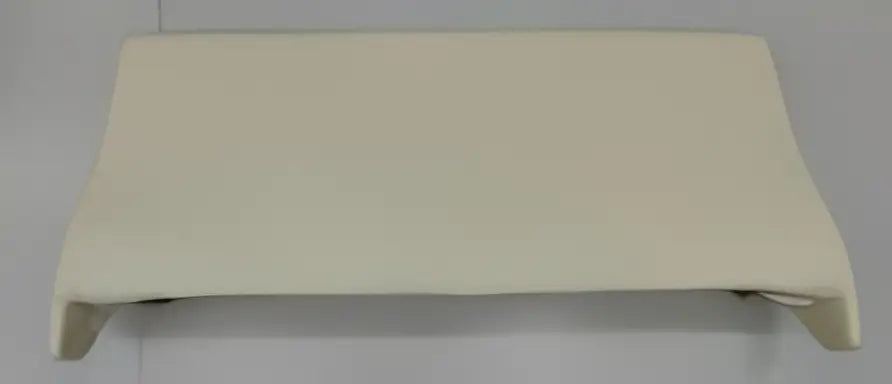
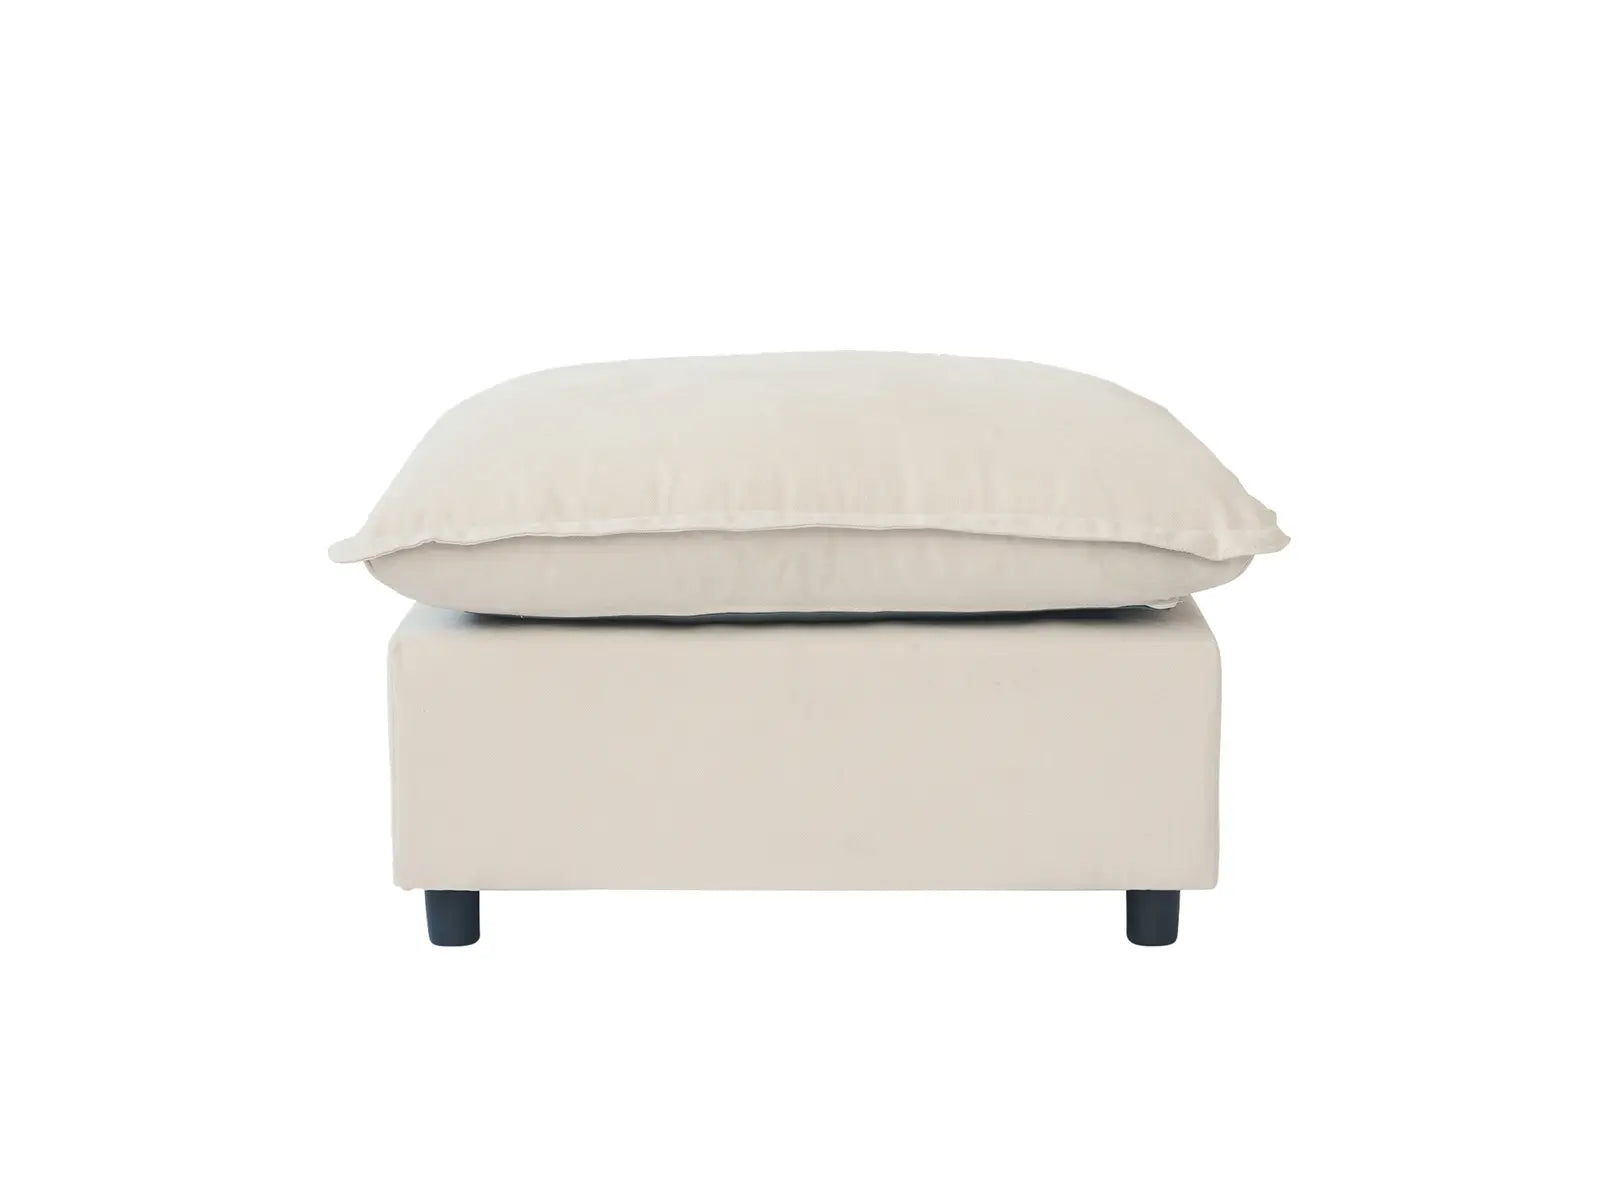
(Ottoman) Footrest
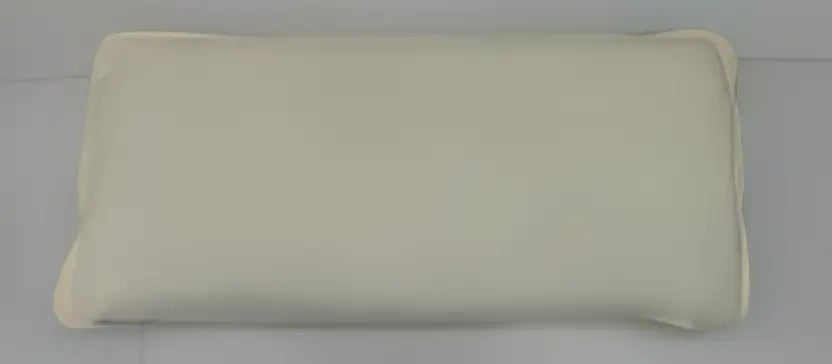
Seat Cushion
Legs
Footrest
Seat Cushion
Legs
To avoid scratches and swallowing parts,please do not install by children!
Step 1
Stick the black cloth tightly along the nylonbuckle around the sofa and attach the legs.
Step 2
Place the cushion on the footrest and theassembly is complete.
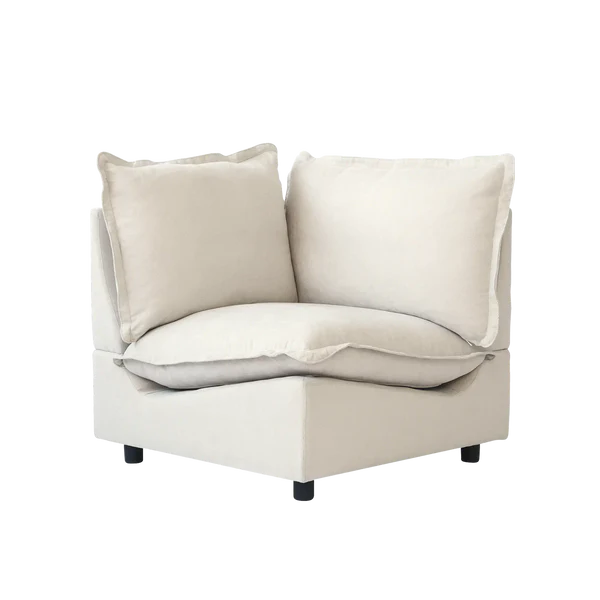
Installation 151-6
(Corner Sofa)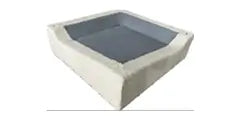 Sofa base
Backrest
Back Cushion
Seat Cushion
Legs
Bolt
Sofa base
Backrest
Back Cushion
Seat Cushion
Legs
Bolt
To avoid scratches and swallowing parts,please do not install by children!
Step 1
Insert the latch into the backrest, and then insert thebackrest into the base.
Step 2
Stick the black cloth tightly along the nylonbuckle around the sofa and attach the legs.
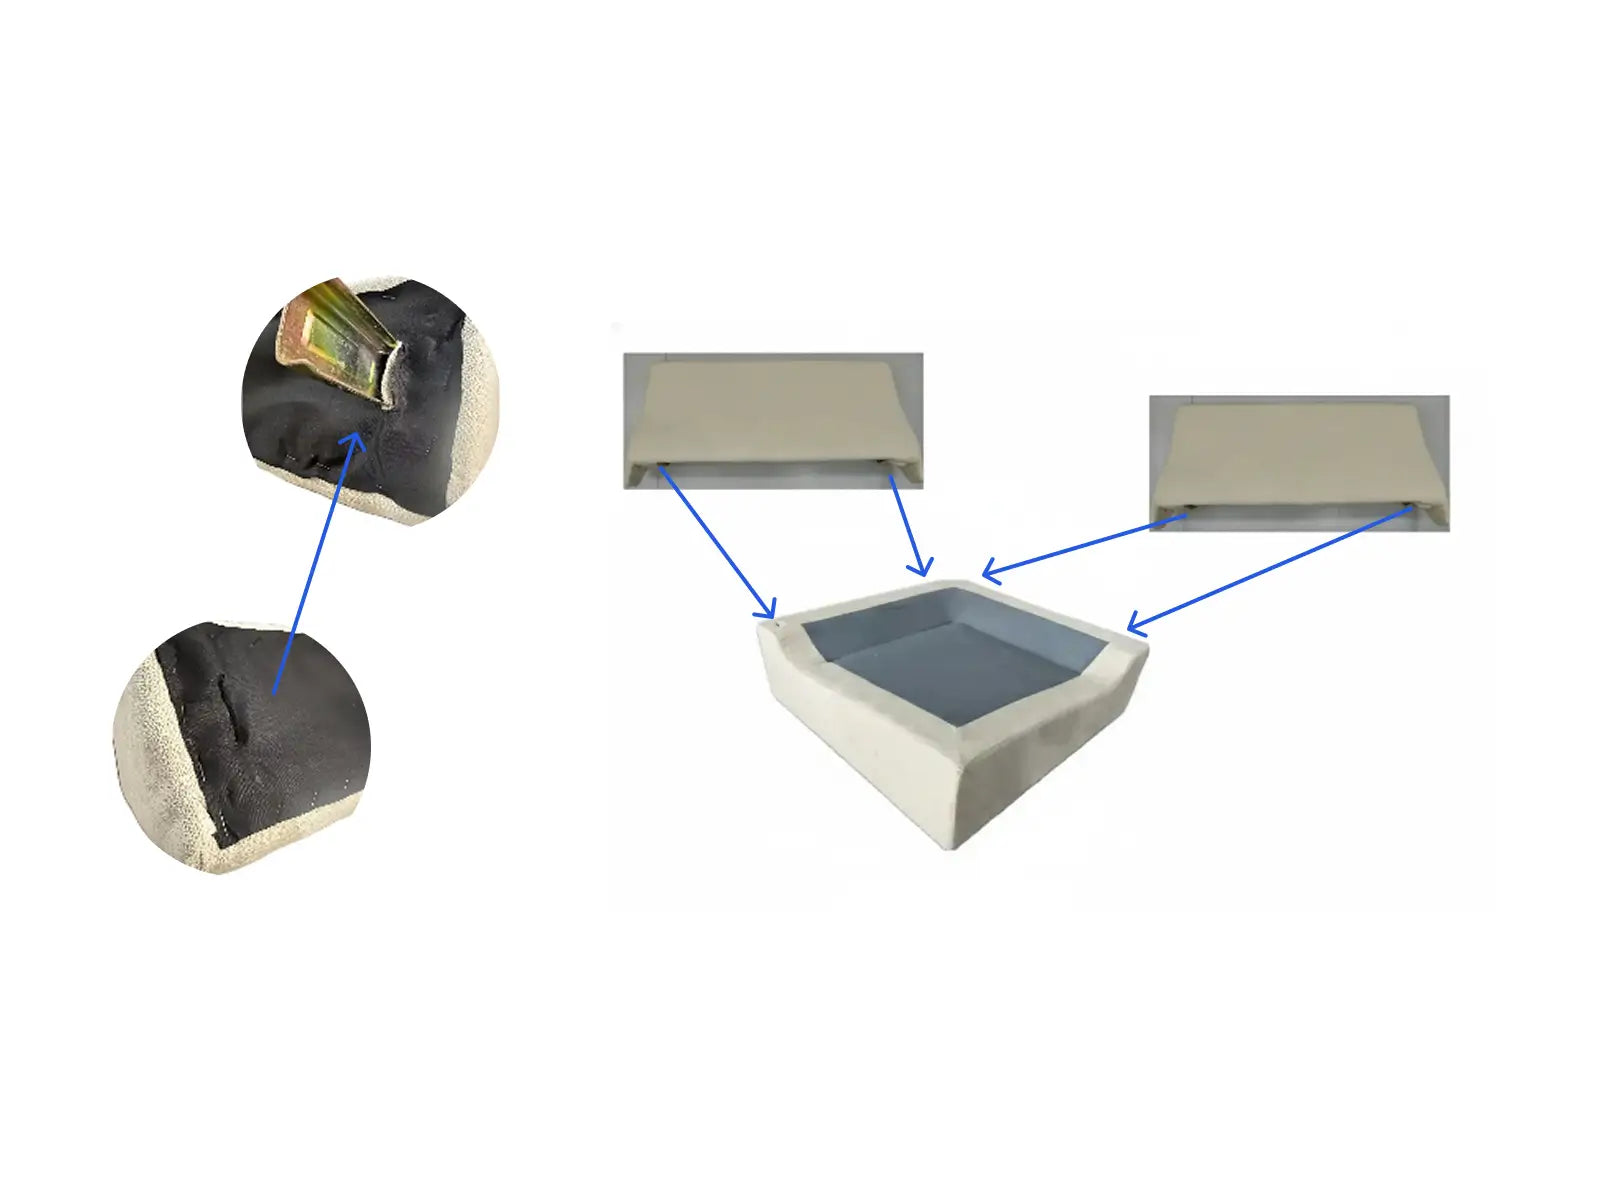
Final Step
For sofas with multiple seat modules (excluding the ottoman), align the modules and secure them together from the bottom using the bolts, as shown in the diagram.
 M8×40 Bolt
To avoid scratches and swallowing parts,please do not install by children!
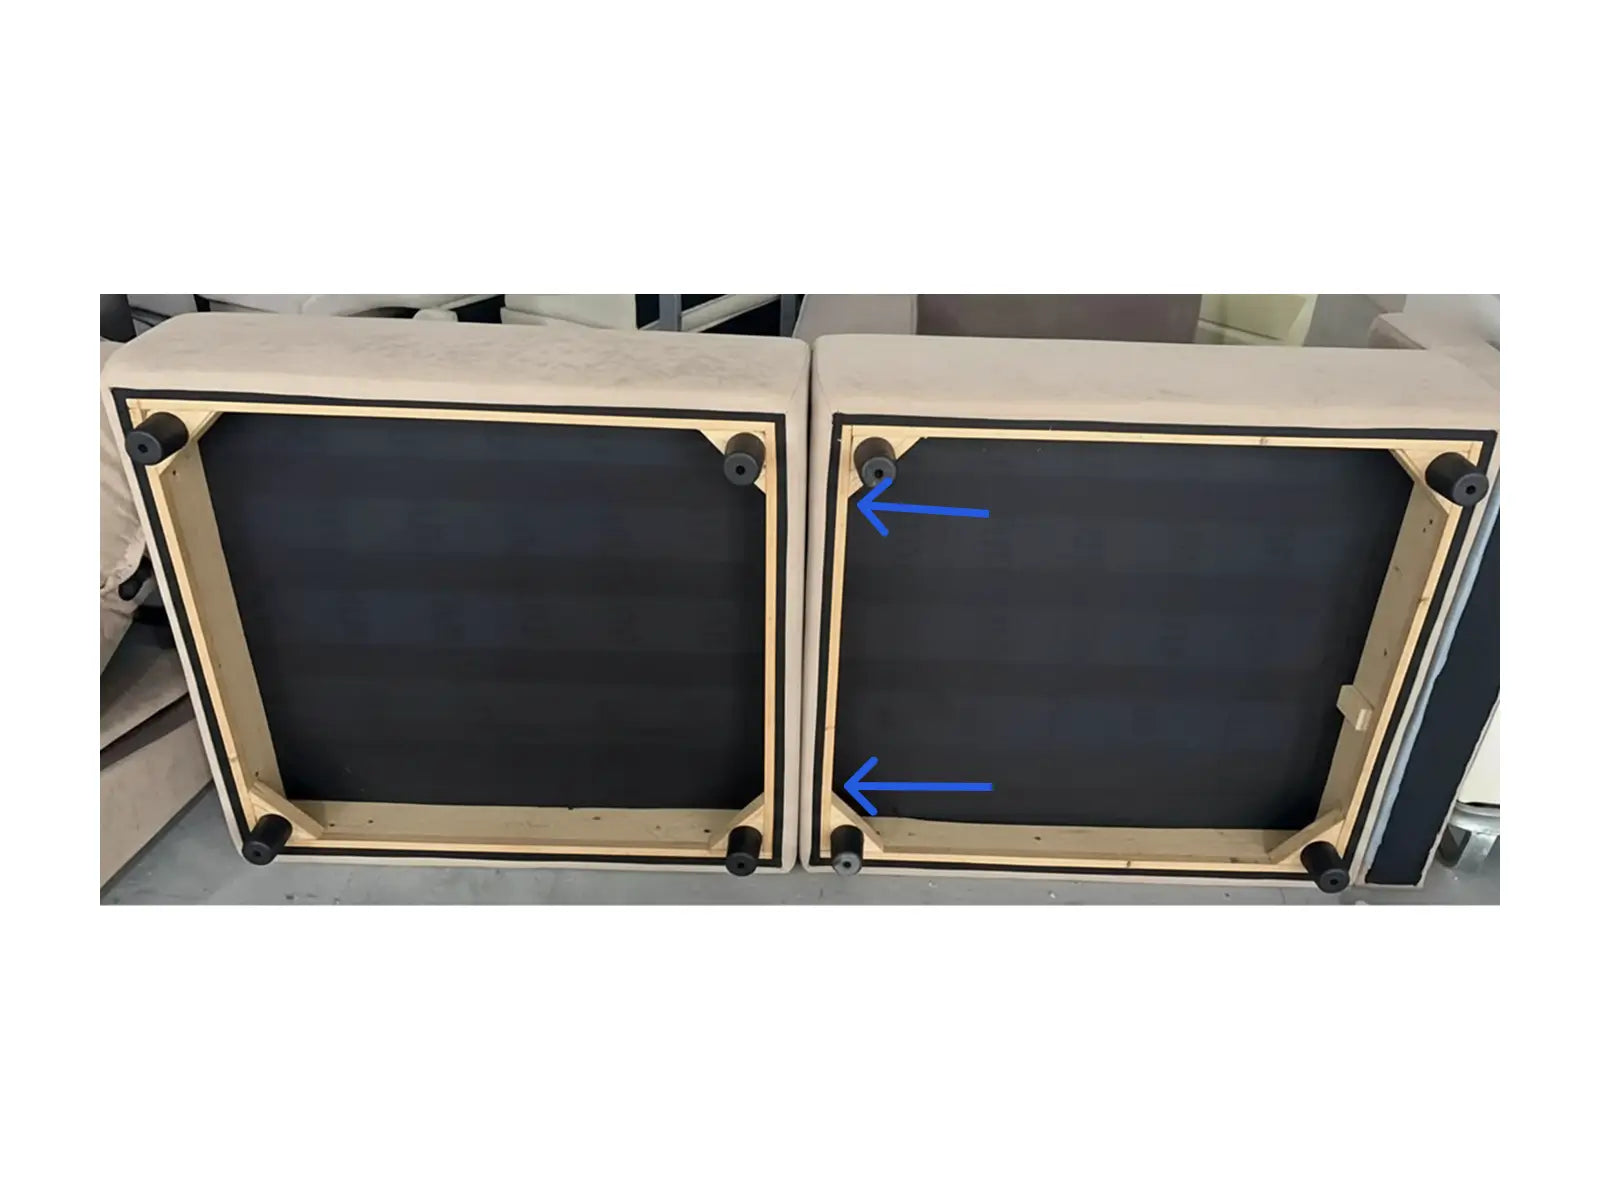
Insert the screw through themarked hole from the directionindicated by the arrow on thebottom of the sofa for fixation.